
>>

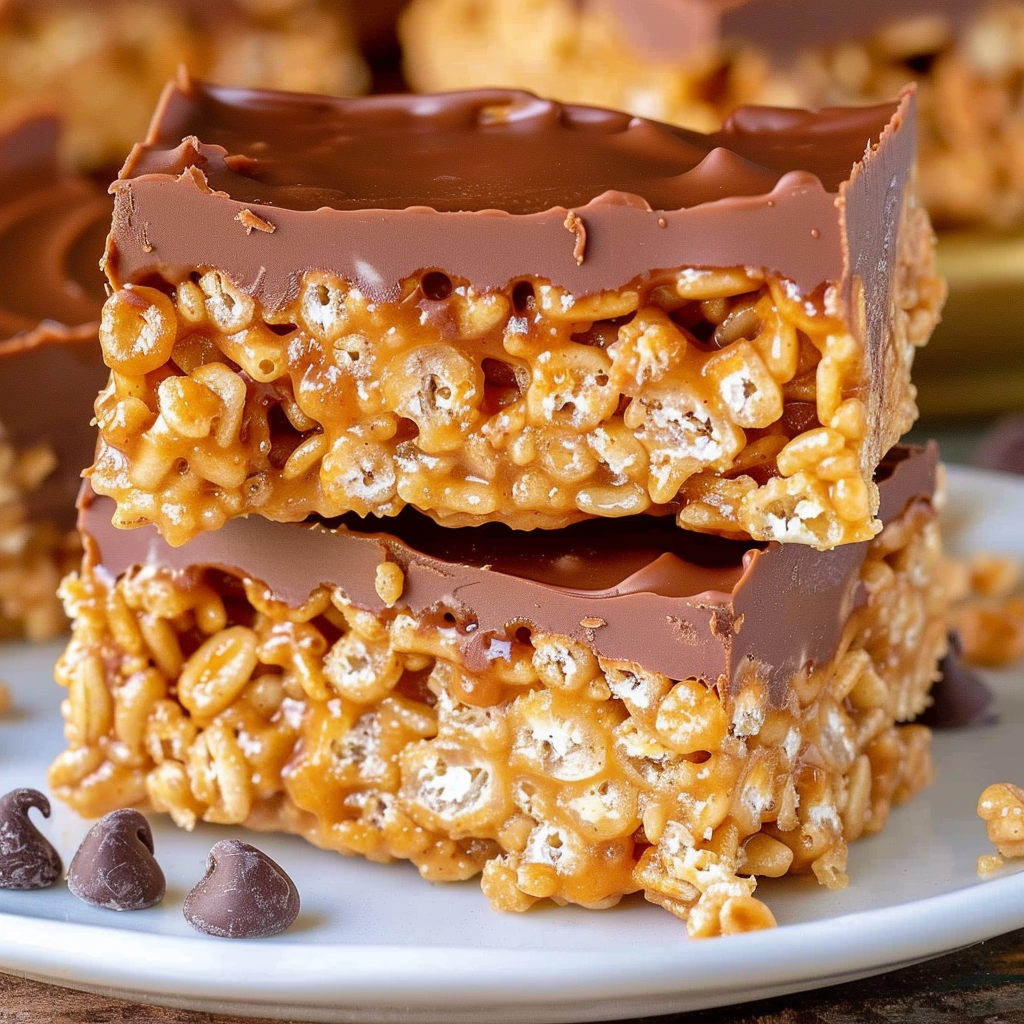
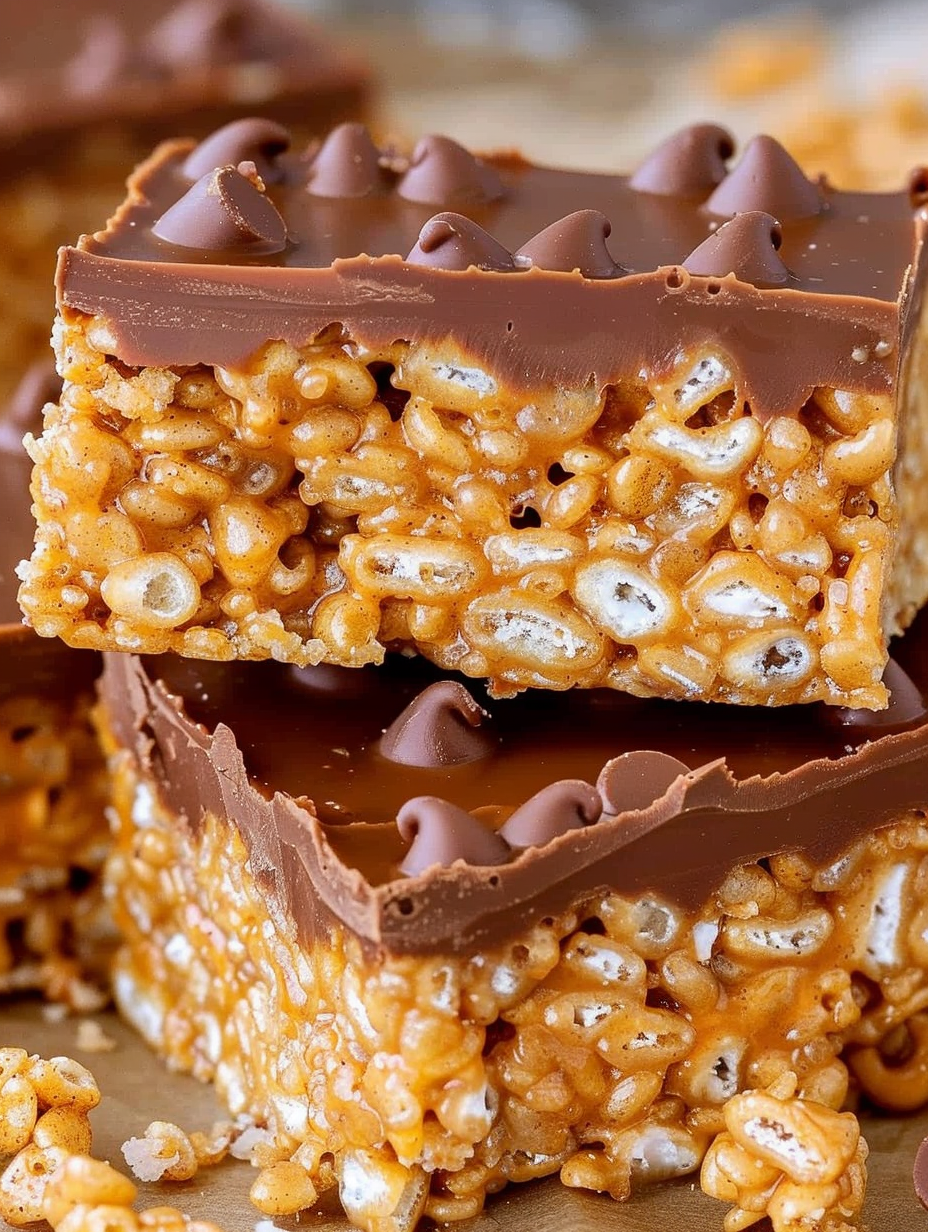
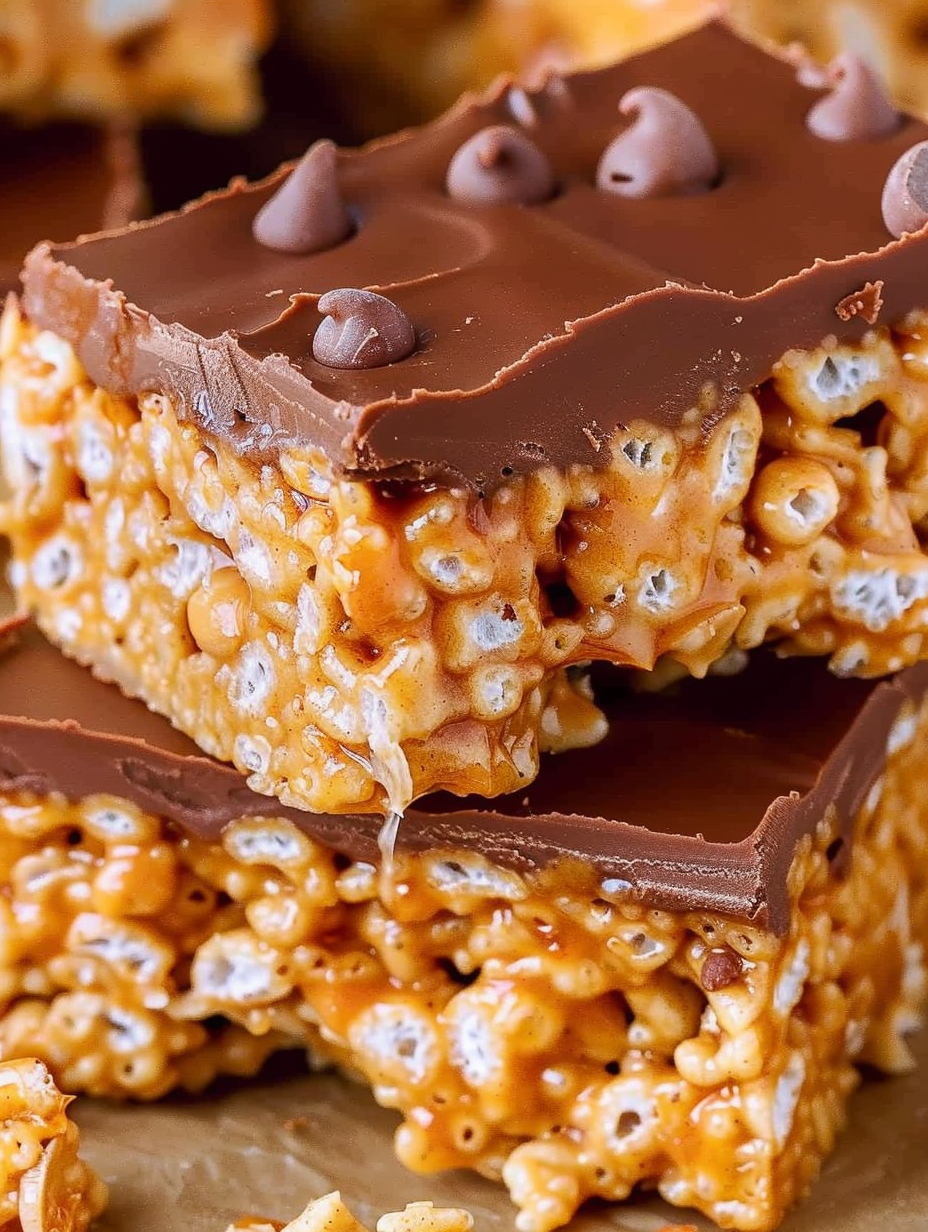
Crisp Rice Krispies bars coated in a creamy peanut butter mixture and topped with a decadent layer of melted butterscotch and semi-sweet chocolate — a nostalgic no-bake favorite.
This recipe is the one I turn to when I want a treat that delivers nostalgia, texture, and comfort in a single bite. I first made these Scotcheroos during a weekend of cookie swaps years ago, and they instantly transported me back to childhood bake sales: chewy, slightly sticky, and impossibly addictive. Each bar balances the airy snap of Rice Krispies with the warm, nutty creaminess of peanut butter, finished by a glassy, rippled topping of butterscotch and semi-sweet chocolate. They arrive at any gathering and disappear in minutes.
I discovered a few technique adjustments over time that make a big difference — warming the peanut butter with the corn syrup and sugars until it is smooth and glossy, adding vanilla at the end for a lift, and being gentle when pressing the cereal into the pan so the bars retain a light texture. These small changes preserve the airy crunch while delivering cohesive bars that slice cleanly. Whether you’re making them for holidays, school events, or an afternoon pick-me-up, these are reliably crowd-pleasing and simple enough for a beginner.
On a personal note, my family’s reaction the first time I served these was immediate — requests for the recipe, and a tall stack of empty wrappers. I love how the shiny chocolate-butterscotch topping creates that satisfying crack when you bite in. Over the years I’ve learned to double-check the cereal quantity and avoid packing the mixture too hard into the pan so the finished texture stays perfectly chewy rather than rock-hard.
My favorite part is the shine on the chocolate-butterscotch layer — it gives each bite a delicate snap before you hit the chewy middle. Family members often say these are “the perfect balance” of crunch and chew, and I love that they require no baking, which makes them a go-to for last-minute dessert needs. After many batches, I’ve perfected the timing so the topping sets to the right firmness while the center stays tender.
Store the bars in a single layer or separated by parchment in an airtight container to prevent sticking. At room temperature they’ll keep for up to 4 days in a cool, dry place; heat will soften the topping and make them sticky. For longer life, refrigerate for up to two weeks — bring to room temperature for 15 minutes before serving to regain chewiness. For freezing, individually wrap bars in plastic wrap then place them in a freezer-safe box; thaw in the fridge overnight and then sit at room temperature briefly before unwrapping to avoid condensation on the glossy top.
If you need to adapt, swap smooth almond or sunbutter for peanut butter for a nut-free or different-flavored bar; note the flavor will shift and melt behavior may vary slightly. If you don’t have light corn syrup, an equal measure of golden syrup can work, though texture will be a touch softer. For a dairy-free version, use dairy-free chocolate and butterscotch-style chips labeled vegan; choose a certified gluten-free crispy rice cereal if avoiding gluten. When swapping sugars, maintain the same total sugar volume to preserve setting characteristics.
Serve these alongside coffee, tea, or a scoop of vanilla ice cream for an indulgent dessert plate. For parties, cut bite-sized squares and arrange on a platter sprinkled with flaky sea salt to contrast the sweetness. They make a fantastic addition to cookie trays, lunchbox treats (in moderation), or gift tins — tie a ribbon around a stack of bars wrapped in wax paper for a classic homemade present.
Scotcheroos are a beloved American no-bake treat with roots in mid‑20th-century convenience baking, where quick-stir-and-set recipes became popular. The combination of Rice Krispies, peanut butter, and a melted candy topping reflects a tradition of simple pantry-based sweets. Over the decades, variations have multiplied across church bake sales and family kitchens, but the core appeal remains the same: immediate gratification without an oven and the satisfying contrast of textures.
For holidays, swap semi-sweet chips for white chocolate and tint with a few drops of food coloring for themed bars, or stir in chopped roasted peanuts and a pinch of cinnamon in fall. Summer versions can include a drizzle of crushed freeze-dried strawberries on the set topping for bright color and tang. For winter gatherings, add a teaspoon of espresso powder to the melted chocolate for depth that pairs beautifully with the butterscotch layer.
Make a double batch and portion into single-serve bags for grab-and-go snacks — perfect for busy mornings or packed lunches. If prepping ahead for a party, assemble the base the day before, cover with plastic wrap, and make the topping hours before serving for the freshest glossy finish. Use a warmed knife between cuts to achieve clean edges; wipe and re-warm between slices to avoid dragging the topping.
These bars are a simple, reliable treat that rewards small technique choices — gentle pressing, careful melting, and a good-quality chocolate — with maximum nostalgic flavor. Share a tray with friends or stash a few in your own snack drawer; either way, they’re bound to become a favorite.
Warm the knife under hot water and dry it between cuts for clean slices.
Use parchment paper to press and lift the block easily from the pan.
Stir the chip mixture continuously over low heat to prevent scorching.
This nourishing the best scotcheroos recipe is sure to be a staple in your kitchen. Enjoy every moist, high protein slice — it is perfect for breakfast or as a wholesome snack any time.
This The Best Scotcheroos recipe makes perfectly juicy, tender, and flavorful steak every time! Serve with potatoes and a side salad for an unforgettable dinner in under 30 minutes.
Spray a 9x13-inch baking dish with cooking spray or line with parchment and set aside.
Place 6 cups Rice Krispies cereal into a large bowl and set aside for combining with the binder.
Combine 1 cup light corn syrup, 1 cup peanut butter, 1/2 cup packed light brown sugar, 1/2 cup granulated sugar, and 1/2 teaspoon salt in a medium saucepan and heat over medium-low while stirring constantly until fully melted and glossy (about 4–6 minutes).
Remove from heat and stir in 1 teaspoon vanilla extract immediately to preserve aroma; the mixture should remain pourable for mixing with cereal.
Pour the warm peanut butter mixture over the Rice Krispies and stir quickly and evenly with a wooden spoon until the cereal is thoroughly coated.
Gently press the coated cereal into the prepared pan using parchment or a spatula to smooth the top without packing the mixture too tightly.
Place 11 ounces butterscotch chips and 1 1/2 cups semi-sweet chocolate chips in a medium saucepan over medium-low heat and stir constantly until completely smooth and glossy.
Pour the melted chips over the pressed cereal, smooth with an offset spatula, and allow to sit at room temperature for at least 2 hours until the topping is set. For faster results, chill briefly in the refrigerator then slice.
Use a warm, clean knife to slice into approximately 15 bars. Store in an airtight container and enjoy.
Last Step: Please leave a rating and comment letting us know how you liked this recipe! This helps our business to thrive and continue providing free, high-quality recipes for you.
Leave a comment & rating below or tag
@feastinarecipe on social media!

Cozy, bright, and ready fast, this Instant Pot lemon chicken orzo soup brings tender chicken, fresh veggies, and a sunny citrus finish.

Feather-light mini cheesecakes with bright strawberry sauce, a tender biscuit-style base, and creamy filling. Just 47 calories each and irresistibly fresh.

Silky mini cheesecakes swirled with melted chocolate and a splash of Kahlua, nestled on Oreo crusts and crowned with fresh whipped cream.
Leave a comment & rating below or tag @feastinarecipe on social media!
Enjoyed this recipe? Share it with friends and family, and don't forget to leave a review!
This recipe looks amazing! Can't wait to try it.
Comments are stored locally in your browser. Server comments are displayed alongside your local comments.

Join to receive our email series which contains a round-up of some of our quick and easy family favorite recipes.
