
>>

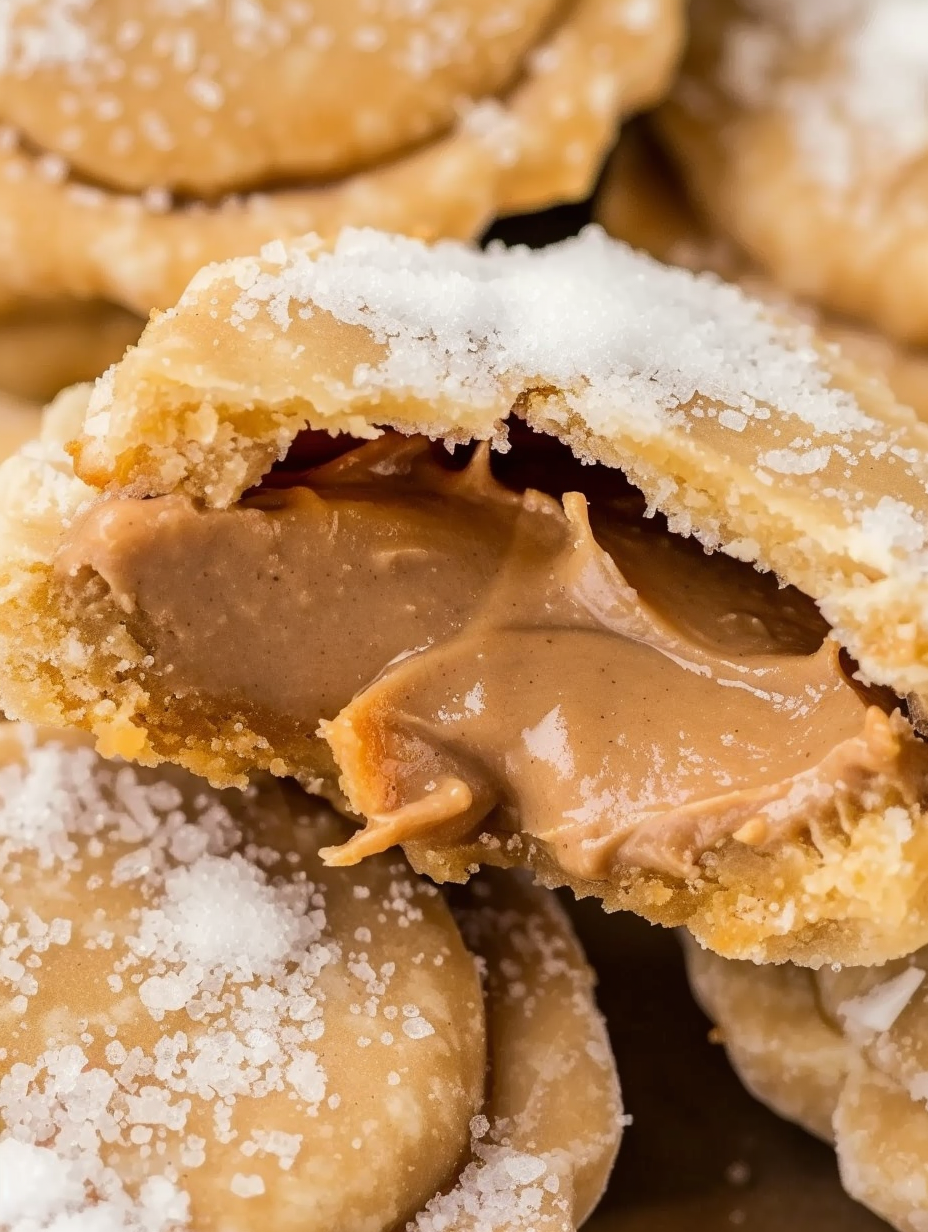
Warm, flaky pockets of pie crust filled with molten peanut butter – these quick peanut butter lava cookies are an indulgent 3-ingredient treat ready in under 30 minutes.
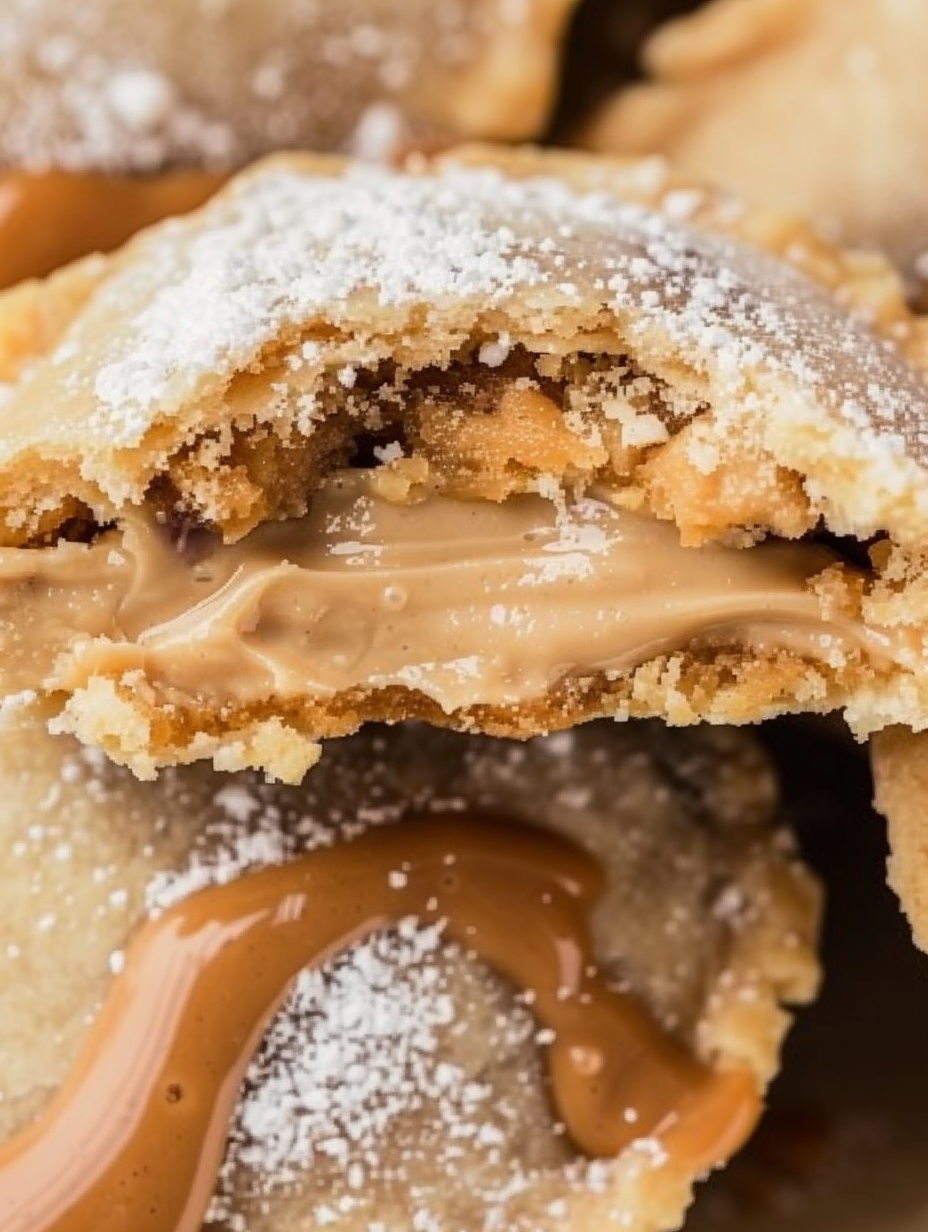
This recipe is a shortcut I keep ready for any moment that calls for an impressive yet effortless dessert. Peanut butter lava cookies are little pockets of flaky crust that burst open with warm, gooey peanut butter the moment you bite into them. I first stumbled on the technique during a busy holiday season when I needed a last-minute sweet that travelled well and still felt homemade. The result was surprising: flaky golden edges, a soft tender shell, and a molten center that delighted everyone, from my oldest picky eater to visiting neighbors. They became a staple whenever guests dropped by unexpectedly.
What makes this version special is its simplicity and immediate payoff. Using premade rolled pie crust transforms the process into something fast but still extremely satisfying. The contrast of the lightly sugared exterior with the warm, creamy peanut butter is a textural and flavor play I never get tired of. Serve them warm out of the oven for the full lava effect or let them cool slightly for a firmer, sandwich-style cookie. Either way, they disappear quickly.
In practice, these quickly became a family favorite. My kids call them "peanut butter bombs," and they bring them to school functions because they hold up well and require no last-minute glazing. After a few trials I found that JIF Original Creamy gives a reliable melt and comfortable spreadability, and rolling the crust just a touch thinner improves flakiness without making the dough fragile.
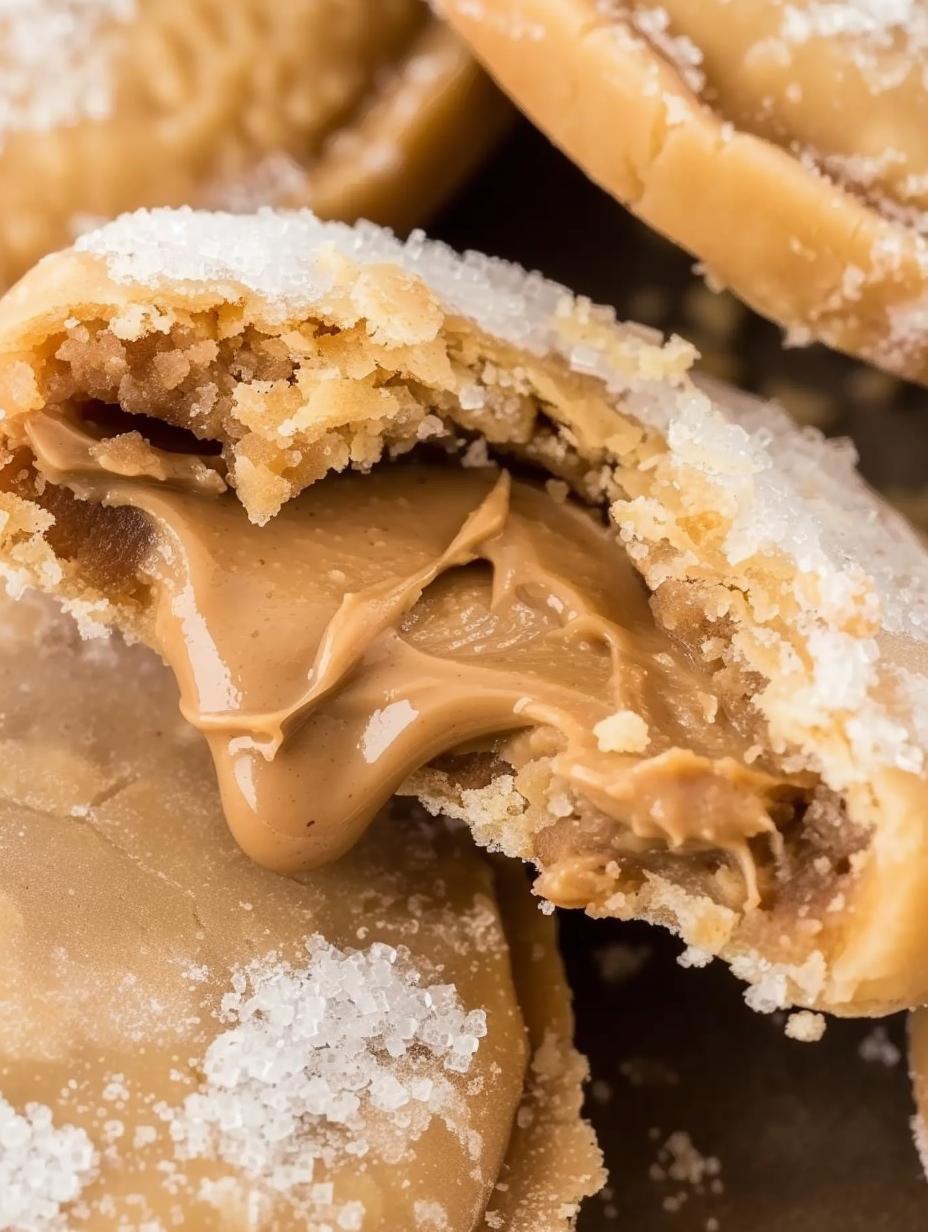
My favorite part is watching someone break one open for the first time. The molten peanut butter surprises and delights each time. On more than one occasion these disappeared before coffee was finished, and they have been the star of potlucks because they look elegant but require minimal effort.
For short-term storage, allow the pockets to cool completely and keep them in a single layer in an airtight container at room temperature for up to 48 hours. To avoid sogginess, separate layers with parchment. For longer storage, freeze unbaked, sealed cookies on a sheet tray until solid, then transfer to a freezer bag for up to 1 month. Bake from frozen, adding 3 to 5 minutes to the bake time. To reheat baked cookies, warm in a 325°F oven for 5 to 7 minutes or microwave for 10 to 20 seconds until the center softens again.
If you need to avoid peanuts, swap the peanut butter for a sunflower seed butter with similar thickness—SunButter is a reliable choice and yields a comparable melt. For a nuttier flavor, try almond butter, though it tends to be slightly less smooth when molten. If using natural peanut butter that separates, stir well and refrigerate briefly to firm it up before portioning. For a slightly richer crust, use a butter-based premade crust; for a lighter crust, choose all-vegetable shortening varieties.
Serve warm with a dusting of powdered sugar or a drizzle of melted chocolate for special occasions. Pair with cold milk or brewed coffee to balance the richness. For a sundae-style dessert, split a warm cookie and top with vanilla ice cream and a sprinkle of chopped peanuts or toasted coconut for contrast. These pockets also work well on dessert platters alongside fresh fruit and savory bites for party spreads.
These pockets are a modern, American take on filled pastries and hand pies—combining the convenience of store-bought dough with the comfort-food appeal of peanut butter. Filled pastries have a long global history, from sweet empanadas to European turnovers. This version leans into classic American pantry flavors: peanut butter and sugar, with a shortcut approach that became popularized in home baking communities for its speed and reliable results.
Holiday seasons call for small tweaks: add a pinch of cinnamon or pumpkin pie spice to the sugar coating in autumn, or fold a teaspoon of pumpkin puree into stabilized creamy peanut butter for a fall twist. During winter, sprinkle a few crushed peppermint candies on the sugar coating before baking for a festive crunch. In summer, serve warm pockets with a scoop of lemon sorbet to cut through the richness.
Assemble cooled, sealed pockets and freeze them on a sheet pan until solid. Transfer to labeled freezer bags in single layers, and bake straight from frozen when needed. This method gives you quick homemade desserts without the last-minute prep. For gatherings, bake fresh right before guests arrive and stash extras in the oven at 170°F to keep them slightly warm without overcooking.
In the end, these peanut butter lava cookies are proof that a few quality ingredients and a small technique change can produce a crowd-pleasing result. They are joyful to share, simple to make, and endlessly adaptable. Give them a try and make them your own—swap fillings, add toppings, and enjoy the warm smiles they bring.
Roll the crust slightly thinner than the package to get a flakier shell without tearing the dough.
Keep sugar off the edges to ensure a complete seal; excess sugar prevents binding.
Use a 3-inch cutter for an ideal portion size and predictable bake times.
If using natural peanut butter, mix thoroughly and chill briefly to firm it before spooning.
This nourishing peanut butter lava cookies recipe is sure to be a staple in your kitchen. Enjoy every moist, high protein slice — it is perfect for breakfast or as a wholesome snack any time.
Yes. Assemble sealed pockets and freeze them on a tray until firm. Transfer to a freezer bag and bake from frozen, adding 3 to 5 minutes to the baking time.
Use creamy, stable peanut butter like JIF or Skippy. Natural brands that separate can be used if thoroughly stirred, but they tend to be runnier.
Let them rest for 2 minutes out of the oven, then enjoy. The center will be very hot right away.
This Peanut Butter Lava Cookies recipe makes perfectly juicy, tender, and flavorful steak every time! Serve with potatoes and a side salad for an unforgettable dinner in under 30 minutes.
Preheat oven to 400°F. Line a rimmed baking sheet with parchment paper and set aside. Thaw pie crusts to room temperature per package directions so the dough is pliable for rolling.
Unroll one pie crust on parchment and roll lightly to thin to about 1/16 to 1/8 inch. Use a 3-inch cutter or glass to cut circles and reroll scraps as needed.
Place 1 tablespoon of creamy peanut butter in the center of each round. Sprinkle about 1/8 teaspoon granulated sugar onto the peanut butter, keeping sugar away from the edges to ensure sealing.
Top with a second round, press edges firmly by hand, and crimp with a fork if desired to ensure a tight seal and prevent leakage while baking.
Toss each pocket lightly in granulated sugar, place on the prepared sheet with spacing, and bake for 12 minutes until edges begin to brown. Do not overbake to preserve the molten center.
Remove from oven and let rest for about 2 minutes before serving. Centers will be very hot; allow brief cooling for safety and to set the final texture.
Last Step: Please leave a rating and comment letting us know how you liked this recipe! This helps our business to thrive and continue providing free, high-quality recipes for you.
Leave a comment & rating below or tag
@feastinarecipe on social media!

Cozy, bright, and ready fast, this Instant Pot lemon chicken orzo soup brings tender chicken, fresh veggies, and a sunny citrus finish.

Feather-light mini cheesecakes with bright strawberry sauce, a tender biscuit-style base, and creamy filling. Just 47 calories each and irresistibly fresh.

Silky mini cheesecakes swirled with melted chocolate and a splash of Kahlua, nestled on Oreo crusts and crowned with fresh whipped cream.
Leave a comment & rating below or tag @feastinarecipe on social media!
Enjoyed this recipe? Share it with friends and family, and don't forget to leave a review!
This recipe looks amazing! Can't wait to try it.
Comments are stored locally in your browser. Server comments are displayed alongside your local comments.

Join to receive our email series which contains a round-up of some of our quick and easy family favorite recipes.
