
>>

A nostalgic egg-free chocolate cake baked over a layer of cherry pie filling — sticky, rich, and effortlessly comforting. Perfect for potlucks, weeknights, or celebrating Mom.

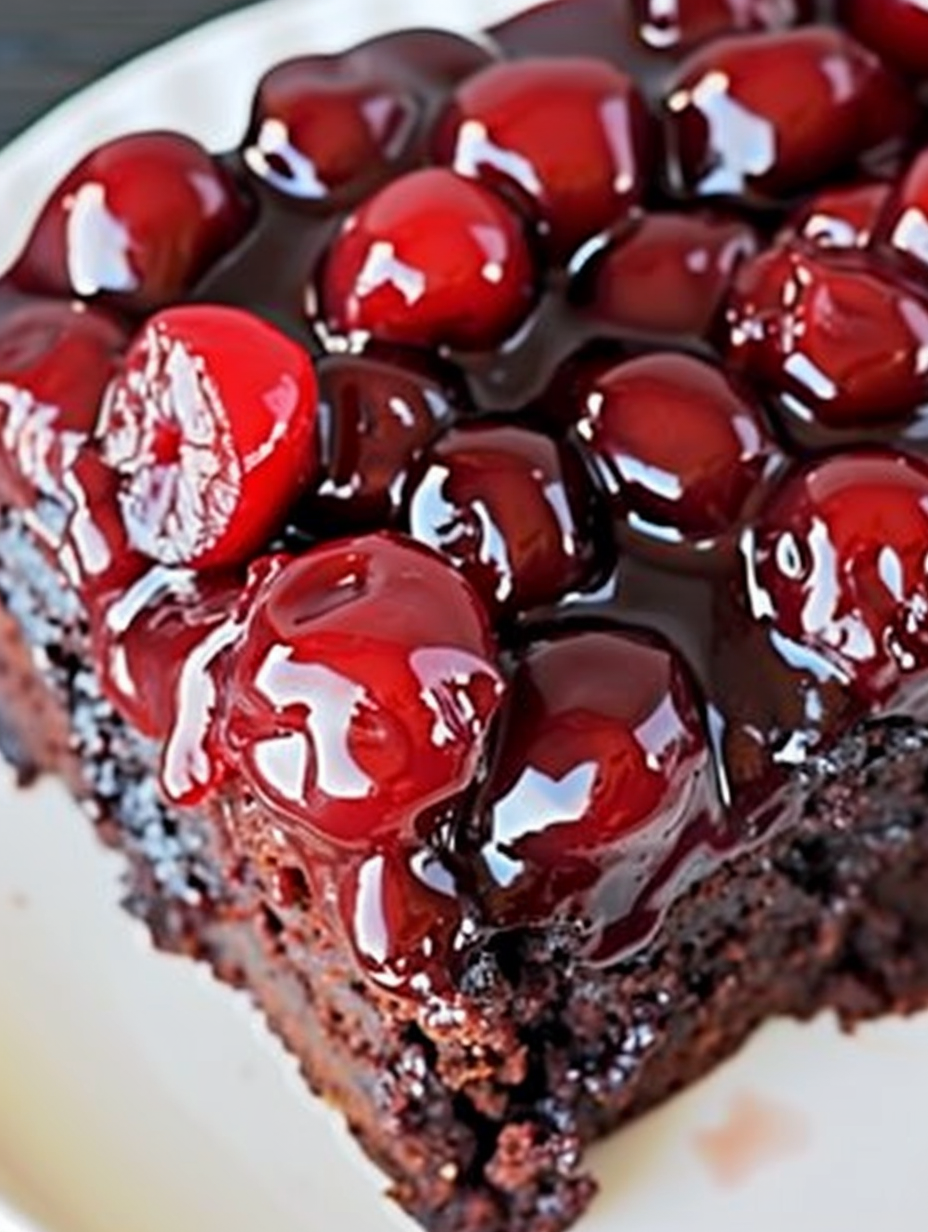
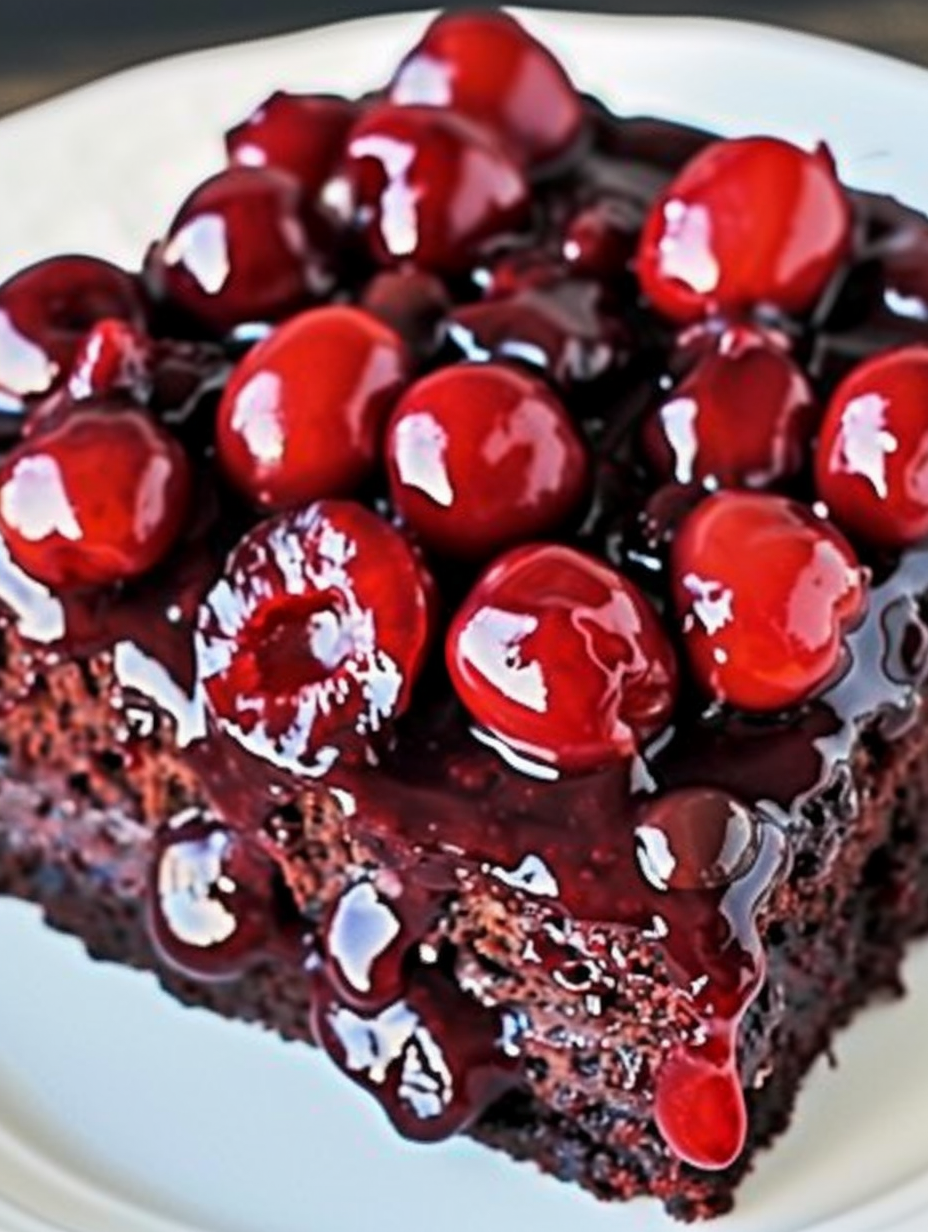
This chocolate cherry upside-down cake is one of those family recipes that arrives fully formed in memory: the sweet whiff of canned cherries and cocoa in the oven, the glossy cherry layer that becomes a sticky, jewel-toned crown once inverted. I learned this version from my mother when I was a teenager helping her in the kitchen on a rainy afternoon. It’s simple, forgiving, and — most importantly — completely egg-free, which made it our go-to dessert for guests with allergies or when we were missing eggs in the pantry. The contrast between the dark, tender crumb and the bright, syrupy cherries is the thing I still find irresistible.
What makes this recipe special is the texture and the timing. The batter bakes into a tender, moist slab that soaks up a little of the cherry syrup during baking, while the top becomes glossy and jammy when flipped. I discovered a trick early on: spreading the cherry filling evenly and nudging cherries into place before pouring the batter keeps every slice balanced with fruit. This cake is both nostalgic and modern — pantry-forward, fast to assemble, and perfectly suited to casual gatherings or a quiet slice with coffee.
When I first baked this for a neighborhood barbecue, everyone reached for seconds and one friend wrote the recipe down word for word. My mother used to tell me the simplicity is the point — good ingredients, even technique, and the little surprise of cherries on top. I still remember her scooping the first slice with a spatula and the cherries glistening like small rubies. That memory is why this cake always makes an appearance when I want comfort with a touch of indulgence.
I love how forgiving this method is: busy weeknight or last-minute guest, it never feels fussy. Friends have brought this to picnics and church socials, and people always comment that it tastes more complicated than the simple list of ingredients suggests. The lack of eggs means it’s often the safe dessert for households with allergies, which made it a family staple during holiday seasons when someone always needed a special consideration.
Store leftover cake in an airtight container or cover the pan tightly with foil or plastic wrap. At room temperature, the cake will keep for up to 24 hours with best texture; refrigerate for up to 4 days. If refrigerated, bring slices to room temperature or warm briefly (15–20 seconds in the microwave) to restore softness. For longer storage, wrap individual slices in plastic wrap and place in a freezer bag; frozen slices keep for up to 3 months. Thaw overnight in the refrigerator or for a few hours at room temperature before serving. Avoid long exposure to air to keep the topping glossy rather than dried out.
If you prefer a less sweet finish, drain about half of the cherry syrup before spreading the fruit, or use a reduced-sugar cherry filling. For a slightly richer cake, substitute half the water with strong-brewed coffee (cooled) — this deepens chocolate flavor without adding coffee taste. To make this with gluten-free flour, use a 1-to-1 gluten-free baking blend that includes xanthan gum; texture will be comparable but may be slightly more crumbly. Swap vegetable oil for melted coconut oil for a subtle tropical note, but expect a slightly different aroma. If canned filling isn’t available, warm 2 cups fresh cherries with 1/3 cup sugar and 1 tablespoon cornstarch until thickened, then cool slightly before spreading.
Serve warm slices with a scoop of vanilla ice cream or a dollop of lightly sweetened whipped cream to balance the tang of the cherries. For a grown-up finish, drizzle a teaspoon of aged balsamic reduction over the top; the acidity pairs wonderfully with chocolate. Garnish with a few fresh cherries or a sprinkling of cocoa powder for a pretty presentation. This dessert works well after casual dinners, potlucks, or paired with coffee for an afternoon treat. Cut into squares for easy serving at large gatherings.
In summer, swap canned filling for a lightly macerated fresh cherry compote to showcase bright fruit; reduce sugar slightly in the compote. For the holidays, stir a pinch of ground cinnamon or orange zest into the batter to add warming notes that complement the cherries. In late winter, top slices with toasted almond slivers for texture and nutty contrast. These small seasonal tweaks keep the recipe fresh year-round while honoring the simple technique that makes it reliable.
This is an ideal make-ahead dessert: bake the day before, cool completely, and store covered at room temperature. If transporting, cool completely, then wrap the pan tightly with two layers of foil to prevent leaks. For portion-controlled meal prep, slice into single-serving squares and wrap each piece in plastic before refrigerating. Reheat individual slices in the microwave for 12–20 seconds or in a 300°F oven for 6–8 minutes for a warm, just-baked feel. Keep a tub of vanilla ice cream handy for quick plated desserts throughout the week.
I once brought this cake to a block party and a neighbor came back the next day to ask for the recipe, saying it reminded her of the birthday cakes from her childhood. On a rainy college weekend, a roommate and I baked this together using only pantry ingredients and both left with sticky fingers and full hearts. The recipe’s simplicity has inspired friends to adapt it — one cousin adds a handful of dark chocolate chips to the batter for an extra molten bite. Those little triumphs are why I keep this version in my regular rotation.
Whether you make it for a crowd or a cozy night in, Mom's Chocolate Cherry Upside-Down Cake is reliable, comforting, and full of nostalgic warmth. Enjoy a slice, slow down, and savor both the chocolate and the cherries.
Spread the cherry filling evenly and nudge cherries into a single layer to ensure uniform fruit distribution when inverted.
Avoid overmixing the batter; stir until just combined to keep the crumb tender.
Cool the cake 10–15 minutes before inverting so the topping unmolds cleanly and the syrup isn't scalding.
If your oven runs hot, check for doneness at 30 minutes to avoid overbaking the edges.
This nourishing mom's chocolate cherry upside-down cake recipe is sure to be a staple in your kitchen. Enjoy every moist, high protein slice — it is perfect for breakfast or as a wholesome snack any time.
Yes — the batter is egg-free. The white vinegar reacts with the baking soda to help the cake rise and remain tender.
Store covered at room temperature for 24 hours or refrigerate for up to 4 days. Freeze individual slices for up to 3 months.
This Mom's Chocolate Cherry Upside-Down Cake recipe makes perfectly juicy, tender, and flavorful steak every time! Serve with potatoes and a side salad for an unforgettable dinner in under 30 minutes.
Grease a 9x13-inch baking pan. Spread the 21-ounce cherry pie filling evenly over the bottom, moving cherries so they are distributed in a single layer.
In a large bowl whisk together 2 1/4 cups flour, 1 1/2 cups sugar, 3/4 cup cocoa, 1 1/2 teaspoons baking soda, and 3/4 teaspoon salt until evenly combined.
In a separate bowl stir 1 1/2 cups water with 1/2 cup oil, 1/4 cup white vinegar, and 1 1/2 teaspoons vanilla until homogenous.
Add the liquid to the dry ingredients all at once and stir until just combined and moistened. Do not overmix; the batter will be thin.
Pour batter evenly over cherries. Bake at 350°F for 35–40 minutes, or until a wooden pick inserted into the center comes out clean or with a few moist crumbs.
Cool in the pan for 10–15 minutes, then invert onto a serving board or platter. If cherries stick, reposition them and serve warm or at room temperature.
Last Step: Please leave a rating and comment letting us know how you liked this recipe! This helps our business to thrive and continue providing free, high-quality recipes for you.
Leave a comment & rating below or tag
@feastinarecipe on social media!

Cozy, bright, and ready fast, this Instant Pot lemon chicken orzo soup brings tender chicken, fresh veggies, and a sunny citrus finish.

Feather-light mini cheesecakes with bright strawberry sauce, a tender biscuit-style base, and creamy filling. Just 47 calories each and irresistibly fresh.

Silky mini cheesecakes swirled with melted chocolate and a splash of Kahlua, nestled on Oreo crusts and crowned with fresh whipped cream.
Leave a comment & rating below or tag @feastinarecipe on social media!
Enjoyed this recipe? Share it with friends and family, and don't forget to leave a review!
This recipe looks amazing! Can't wait to try it.
Comments are stored locally in your browser. Server comments are displayed alongside your local comments.

Join to receive our email series which contains a round-up of some of our quick and easy family favorite recipes.
