
>>

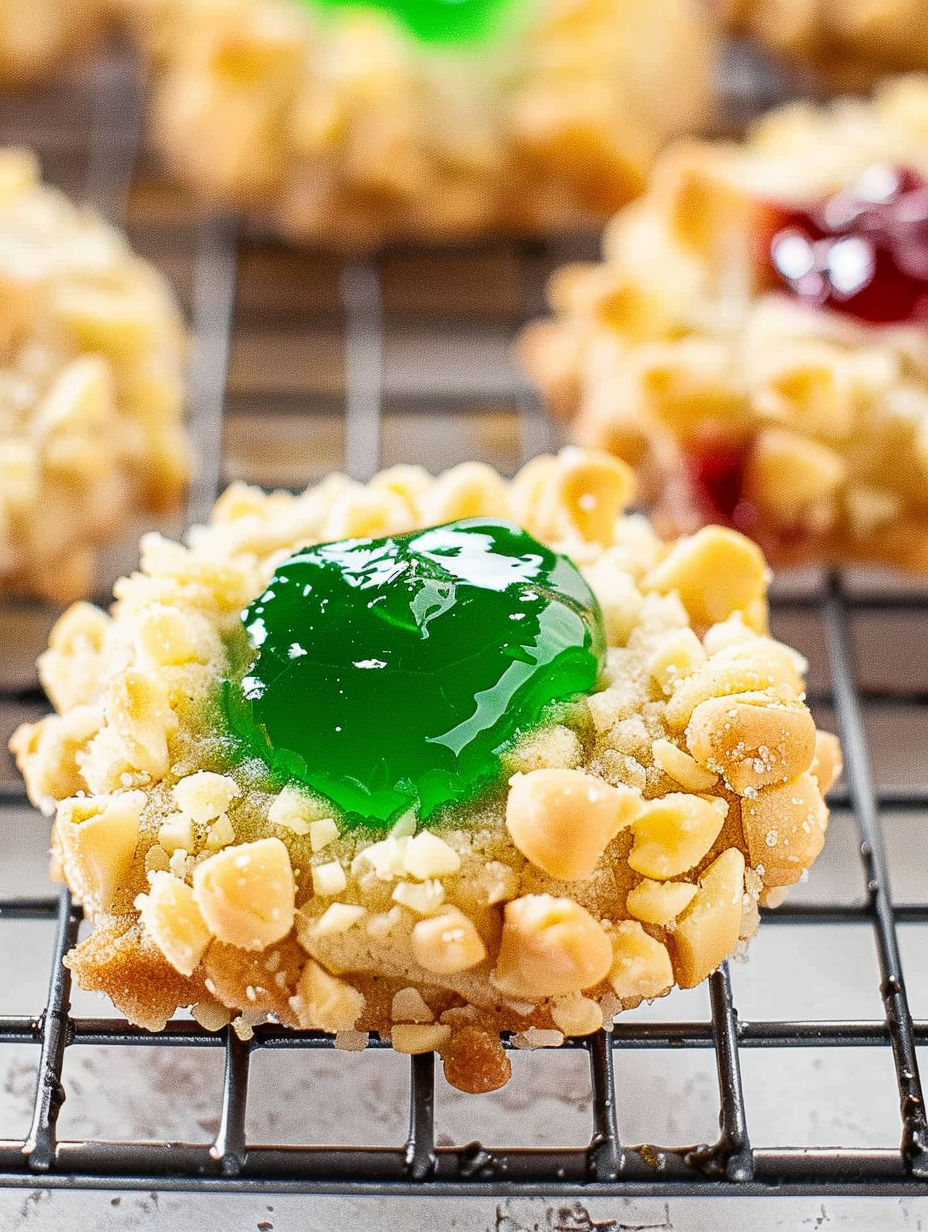
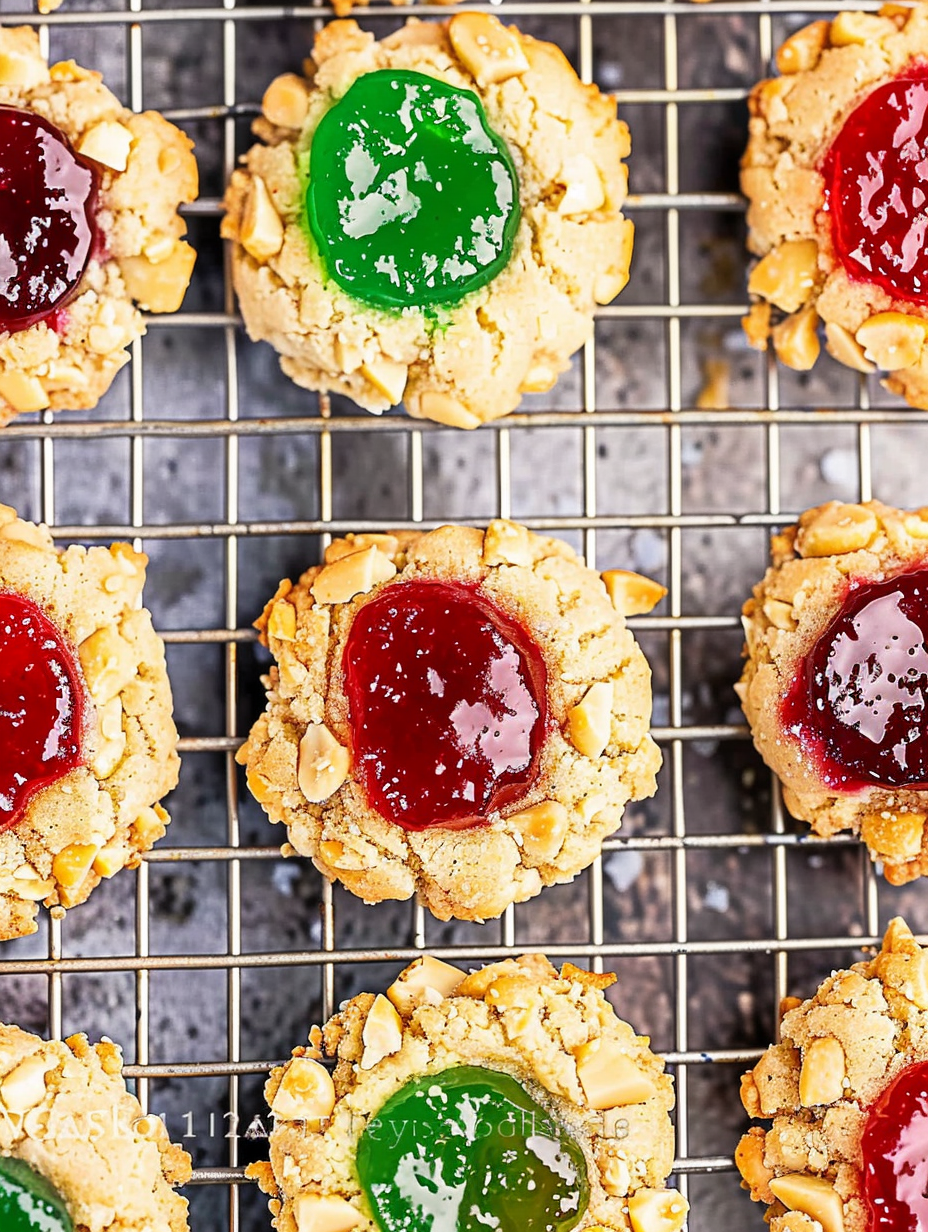
Classic holiday thumbprint cookies filled with bright jelly and a crunchy peanut coating — a nostalgic treat that's perfect for cookie swaps and celebrations.
This batch of jelly thumbprint cookies has been part of my holiday rotation for years. I first made them during a chaotic December when I needed an easy, crowd-pleasing cookie to bring to a neighborhood cookie swap. The combination of a tender, buttery base, a salty peanut crust and a jewel-toned dollop of jelly felt festive and familiar at the same time. Every year since, the jar of red and green jelly comes out with the cookie cutters and the kids stand on stools to help make the thumbprints — it’s become a small family tradition.
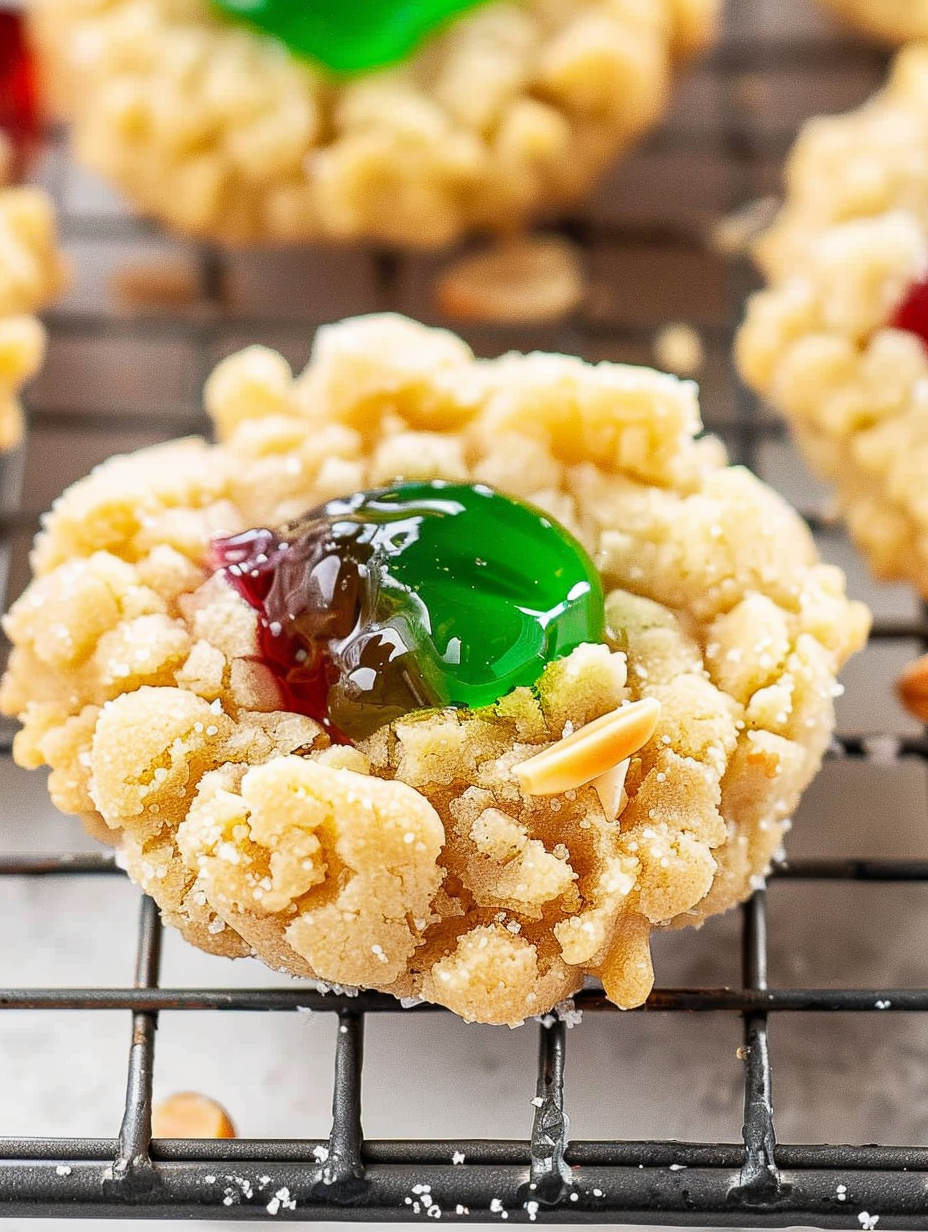
These cookies are all about contrast: the dough is soft and slightly crumbly, the chopped peanuts give a toasty crunch at the edge, and the jelly melts into a glossy, sweet center during baking. The almond extract is a subtle note in the background that lifts the peanut flavor and keeps the cookie from tasting one‑dimensional. They’re simple enough for a beginner, but the little technical touches — like chilling the dough briefly if your kitchen is warm, or using just one teaspoon of jelly per cookie — make the difference between a good cookie and one you’ll keep baking again and again.
In my own kitchen these always disappear fast; last year I brought two dozen to a potluck and they were the first to go. I love how easy they are to double for parties and how small changes — like using pecans or cranberry jelly — can make a new seasonal version.
I love how these cookies bring people to the kitchen. They’re one of those recipes where the process — rolling, dipping, making thumbprints — is half the fun. My niece insists on the green jelly every year and nominates herself head jelly spooner; it’s become her proud role and always results in giggles and slightly uneven but extra-special cookies.
For short-term storage, place cooled cookies in a single layer or with parchment between layers in an airtight container at room temperature for up to 5 days. If you need to keep them longer, assemble the dough balls and freeze them raw on a tray; once solid, transfer to a zip-top bag for up to one month. Thaw in the refrigerator before pressing the thumbprint and baking. Avoid freezing fully baked cookies with jelly, as the jam can become watery when thawed.
To make them nut-free, substitute finely chopped pretzels or crushed graham crackers for the peanuts and increase the pinch of salt in the dough. For a dairy-free version, use a plant-based stick butter and check jelly labels for vegan certification. To make them gluten-free, swap a 1-to-1 gluten-free flour blend; you may need to chill the dough longer as GF flours behave differently. Replace almond extract with pure vanilla extract if nut extracts are undesired.
Serve these with a simple hot cocoa, eggnog, or a strong black tea. Arrange on a holiday platter with other small cookies like spritzes and shortbreads for a varied selection. For a more upscale presentation, dust the plate with a light sprinkle of powdered sugar and garnish with a few whole peanuts or a sprig of rosemary for color contrast.
Thumbprint cookies have European roots, inspired by Scandinavian and Central European holiday baking traditions where small filled biscuits are common. They evolved into many regional variations — some filled with chocolate, others with dulce de leche — but the idea of a small tart or cookie with a filled center remains the same. The peanut-coated version is a modern American twist that adds texture and a familiar flavorscape reminiscent of a peanut butter and jelly sandwich.
For winter holidays use classic red and green jellies; for summer parties switch to bright apricot and raspberry. Incorporate citrus by adding 1 teaspoon of lemon zest to the dough for a fresher cookie in warm months. For Valentine’s Day use heart-shaped cookie cutters for a themed spread, and swap chopped peanuts for finely chopped walnuts or pistachios for a different color and flavor.
Make the dough on a low-activity day and roll into balls, then freeze on a tray. When you need fresh cookies, bake straight from the freezer — add 1–2 minutes to the baking time. For bake-ahead gifting, stack cooled cookies between parchment layers in a festive tin and include a small note about room-temperature storage for best results.
These little cookies capture the joy of holiday baking: simple steps, bright results, and the chance to make memories with family and friends. I hope you find them as comforting and easy to share as I do — and that there are at least a few left for you to sneak with a cup of coffee.
Measure flour by spooning into the cup and leveling off to avoid a dense dough.
Use room-temperature eggs and butter for even mixing and a tender texture.
Chop peanuts to a consistent small size so they adhere evenly and bake uniformly.
If dough feels too soft, chill for 10 minutes to make rolling easier.
Use a teaspoon to portion jelly for consistent appearance and to prevent spillover.
This nourishing jelly thumbprint cookies recipe is sure to be a staple in your kitchen. Enjoy every moist, high protein slice — it is perfect for breakfast or as a wholesome snack any time.
Yes — you can freeze unbaked dough balls for up to 1 month. Thaw in the refrigerator and press thumbprints before baking.
Use about 1 teaspoon of jelly per cookie. Too much will overflow and burn in the oven.
They keep at room temperature in an airtight container for about 5 days; refrigerate if your kitchen is very warm.
This Jelly Thumbprint Cookies recipe makes perfectly juicy, tender, and flavorful steak every time! Serve with potatoes and a side salad for an unforgettable dinner in under 30 minutes.
In a large bowl, cream 1/2 cup softened unsalted butter with 1/4 cup packed light brown sugar until light. Add the egg yolk and 1/2 teaspoon almond extract and mix until smooth.
Stir in 1 cup all-purpose flour and 1/4 teaspoon kosher salt on low speed until combined and the dough pulls away from the bowl.
Portion dough into 1-inch balls (use a tablespoon or small scoop) and place on a parchment-lined baking sheet about 2 inches apart.
Whisk the reserved egg white until frothy, dip each ball into the white, then roll in 1 cup chopped peanuts, pressing gently so nuts adhere.
Press a shallow indentation into each cookie with your thumb or the back of a spoon. Spoon about 1 teaspoon of jelly into each well.
Bake at 350°F for 12–14 minutes until nuts brown slightly. Cool completely on the baking sheet so the jam sets, then transfer to an airtight container.
Last Step: Please leave a rating and comment letting us know how you liked this recipe! This helps our business to thrive and continue providing free, high-quality recipes for you.
Leave a comment & rating below or tag
@feastinarecipe on social media!

Cozy, bright, and ready fast, this Instant Pot lemon chicken orzo soup brings tender chicken, fresh veggies, and a sunny citrus finish.

Feather-light mini cheesecakes with bright strawberry sauce, a tender biscuit-style base, and creamy filling. Just 47 calories each and irresistibly fresh.

Silky mini cheesecakes swirled with melted chocolate and a splash of Kahlua, nestled on Oreo crusts and crowned with fresh whipped cream.
Leave a comment & rating below or tag @feastinarecipe on social media!
Enjoyed this recipe? Share it with friends and family, and don't forget to leave a review!
This recipe looks amazing! Can't wait to try it.
Comments are stored locally in your browser. Server comments are displayed alongside your local comments.

Join to receive our email series which contains a round-up of some of our quick and easy family favorite recipes.
