
>>

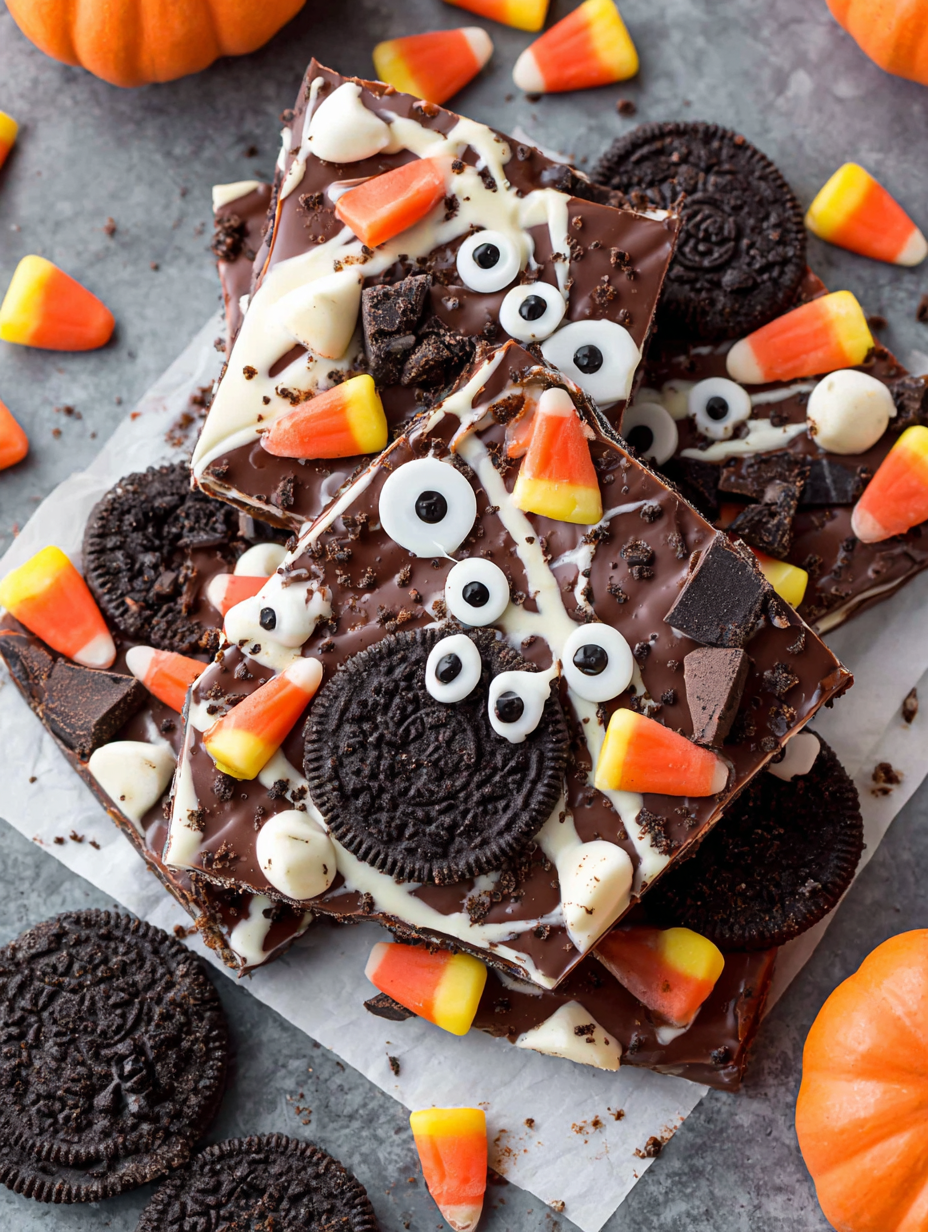
A no-fuss Halloween candy bark that dresses up dark and white chocolate with candy corn, Oreos, black icing and candy eyes for a spooky, crowd pleasing treat.

This Halloween candy bark is the easiest way to create custom candy all dressed up for the holiday and it has been my go to quick treat for years. I first made this one October afternoon while setting out bowls for trick or treaters and realizing I did not have enough themed sweets. With pantry staples and a couple of novelty pieces I transformed ordinary chocolate into a playful slab that disappeared before the first pumpkin battery died. The contrast of glossy dark chocolate and swirled white chocolate creates instant visual drama and the crunchy candy corn and cookie halves add both texture and personality.
What makes this slab so special is how forgiving the technique is. No tempering, no candy thermometer and no baking are required. I discovered this method while juggling a school play schedule and a last minute parent volunteer shift. The microwave method keeps it fast and the chilling step gives you a set and snappy bite. Guests love picking out pieces with candy eyes still attached and the assembled look feels custom even though assembly takes less than 20 minutes of hands on time.
My family reaction the first time I made this was priceless. The kids argued over which bark piece had the most eyes and even my most sugar cautious cousin asked for seconds. Over the years I have learned small tricks like slightly warming the cookie halves before pressing so they adhere better and how to create dramatic white chocolate swirls with a toothpick. These little discoveries make assembly faster and the outcome more consistent every time.
One of my favorite aspects is how this slab becomes a conversation starter at gatherings. The first time I brought it to a potluck the parents were more excited than the kids because of the playful designs and ease of portioning. Over time I have learned to press some pieces more deeply so they hold while others sit more shallow for dramatic presentation. These small changes give the slab a mix of textures and make each piece unique.
Store the set bark in an airtight container in the refrigerator for up to two weeks to maintain crisp texture. If you need to keep it longer wrap pieces individually in plastic wrap then place in a freezer friendly container and freeze for up to three months. To serve from frozen remove the desired amount and let them warm in the refrigerator for one hour or sit at room temperature for 10 minutes. Avoid storing in humid locations to prevent sugar bloom on the chocolate.
If you need dairy free options swap conventional dark and white chips for dairy free or vegan chocolate alternatives. For a gluten free version replace Oreos with certified gluten free sandwich cookies or use rice cereal clusters for crunch. If you prefer less sweetness choose semi sweet dark chocolate instead of standard dark or reduce the amount of candy corn and add toasted nuts for balance. Keep in mind substitutions change texture and adhesion so press toppings into chocolate while it is still warm.
Serve pieces on a simple white platter to let the colors pop or arrange them in small cellophane bags tied with festive ribbon for gifts. Pair with coffee or a lightly spiced hot chocolate to contrast the sweetness. For a party set up a decorating station with extra toppings so guests can personalize a piece. Garnish finished plates with a few extra candy eyes and a sprinkle of cocoa powder for a dramatic look.

Chocolate bark has roots in simple peasant traditions where confections were assembled with what was on hand and then broken into pieces for sharing. Modern bark evolved as chocolatiers and home bakers embellished smooth chocolate slabs with nuts and dried fruit. Themed versions like this American Halloween variation use novelty candy and decorative pieces to celebrate seasonal imagery and provide visual delight. Decorating treats for holidays has long been a way to share craft and care through edible gifts.
Adapt this idea to other holidays by changing the toppings. For autumn swap candy eyes and candy corn for toasted pecans and maple toffee pieces. For winter use peppermint pieces and crushed candy cane with red and green sprinkles. For spring use pastel candies and edible flowers. The basic method remains the same and lets you change the palette quickly without changing technique.
For party prep make two or three slabs at once on separate trays and layer between parchment for storage in a large airtight container. Label with the date and flavor variations so you can grab a sheet and break it into pieces on party day. If transporting wrap slabs in parchment then in foil and keep cool with an insulated bag. For grocery prep portion topping combinations into small containers so assembly is a quick finishing step when you are ready to set out sweets.
This candy slab is a simple, joyful project that turns pantry items into a show stopping treat. It is easy to scale and to make your own with new toppings and colors. I hope you make one for your next Halloween gathering and that it becomes as fond a memory in your home as it is in mine.
Warm cookie halves slightly before pressing to help them adhere to the melted chocolate.
Use high quality chocolate chips for better gloss and a firmer snap after chilling.
Press heavier toppings into the chocolate while it is still warm so they set firmly.
Chill fully before breaking to avoid crumbly edges and melting fingerprints.
This nourishing halloween candy bark recipe is sure to be a staple in your kitchen. Enjoy every moist, high protein slice — it is perfect for breakfast or as a wholesome snack any time.
This Halloween Candy Bark recipe makes perfectly juicy, tender, and flavorful steak every time! Serve with potatoes and a side salad for an unforgettable dinner in under 30 minutes.
Line a 10.5 inch by 15.5 inch baking sheet with parchment or foil leaving an overhang. Place 2 cups dark chocolate chips in a microwave safe bowl and microwave for 1 minute. Stir then microwave in 30 second intervals until smooth. Spread melted chocolate into an even layer with a spatula.
Melt 1/3 cup white chocolate chips in a separate microwave safe bowl starting with 1 minute then 15 second bursts until smooth. Drizzle diagonally over dark chocolate and use a toothpick to drag in the opposite diagonal to create a marbled effect.
Scatter 1/4 cup candy corn evenly. Split 3 Oreos and use black icing to attach candy eyes to cookie halves. Place the cookie halves and 10 mini Oreos onto the chocolate pressing gently so they adhere while the chocolate is still warm.
Refrigerate the tray for 1 hour to harden. Use the parchment overhang to lift the slab and break into pieces by hand or cut with a knife. Store chilled in an airtight container.
Last Step: Please leave a rating and comment letting us know how you liked this recipe! This helps our business to thrive and continue providing free, high-quality recipes for you.
Leave a comment & rating below or tag
@feastinarecipe on social media!

Cozy, bright, and ready fast, this Instant Pot lemon chicken orzo soup brings tender chicken, fresh veggies, and a sunny citrus finish.

Feather-light mini cheesecakes with bright strawberry sauce, a tender biscuit-style base, and creamy filling. Just 47 calories each and irresistibly fresh.

Silky mini cheesecakes swirled with melted chocolate and a splash of Kahlua, nestled on Oreo crusts and crowned with fresh whipped cream.
Leave a comment & rating below or tag @feastinarecipe on social media!
Enjoyed this recipe? Share it with friends and family, and don't forget to leave a review!
This recipe looks amazing! Can't wait to try it.
Comments are stored locally in your browser. Server comments are displayed alongside your local comments.

Join to receive our email series which contains a round-up of some of our quick and easy family favorite recipes.
