
>>

Crispy, golden fried cheese curds that taste just like state-fair favorites — crunchy outside, gooey inside, and perfect for sharing.
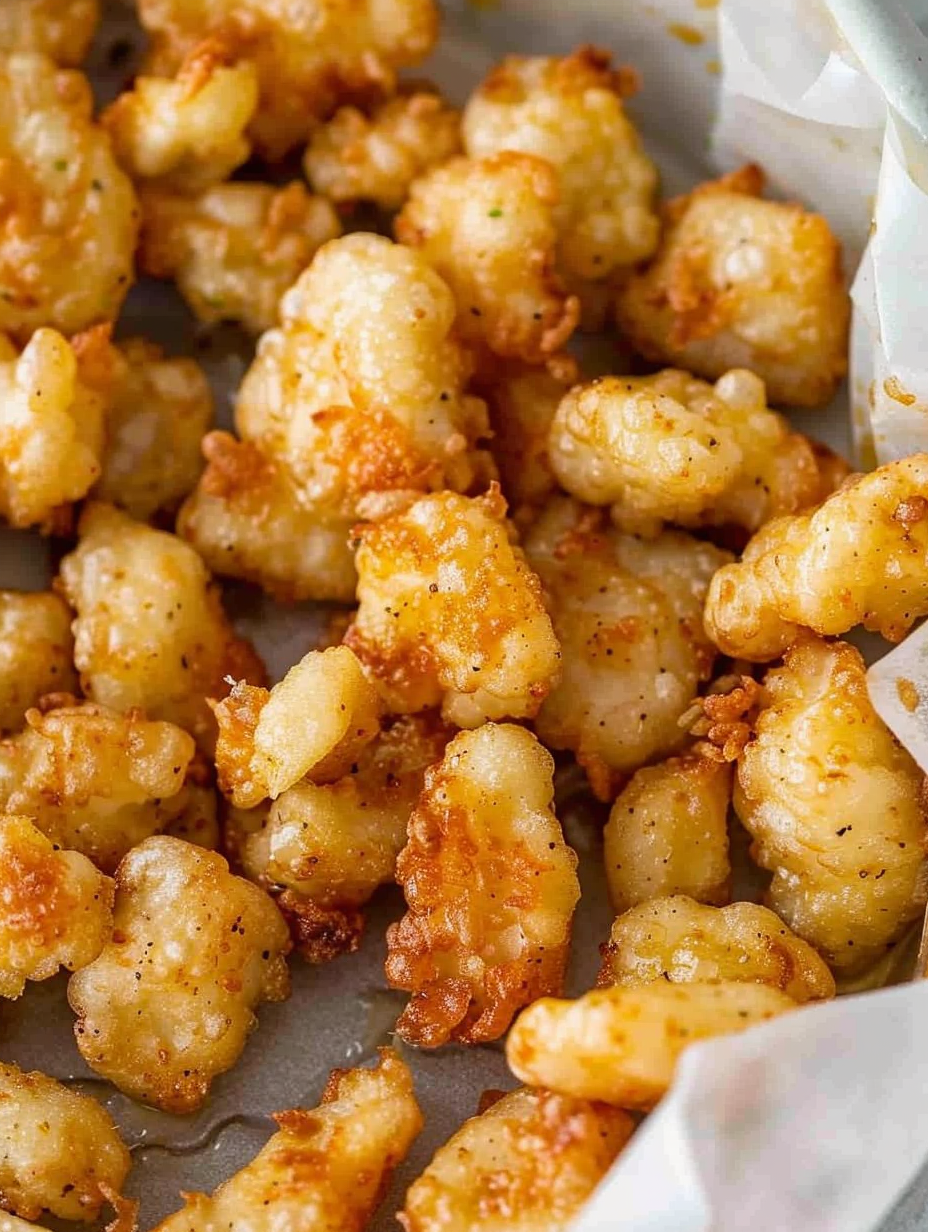
This fried cheese curds recipe is my honest answer to those sticky, glorious memories of state fairs — the smell of hot oil in the air, the crunch of a batter shell giving way to warm, squeaky cheese. I discovered this method during a backyard gathering when I wanted to recreate that fair-time magic without the lines, the crowds, or the sticker shock. The result is exactly what you hope for: a thin, crisp crust that browns quickly and a center that becomes deliciously molten without leaking everywhere.
What makes these so special is the balance of textures and temperature control. Using room-temperature curds and a light, effervescent batter keeps the crust from absorbing too much oil while coaxing the curds into that perfect, stretchy interior. These are the kind of finger food that disappears quickly at parties; my friends always ask for the recipe and a second plate. Make them for game day, a summer cookout, or a cozy movie night — they bring an immediate, nostalgic smile.
When I first tested this recipe, I served them to a group of skeptical teenagers. Halfway through the plate they were offering trading rations to one another — that kind of instant approval. Over time I refined the batter thickness and freezing time; small adjustments made a big difference in preventing cheese leaks and ensuring a perfectly even brown.
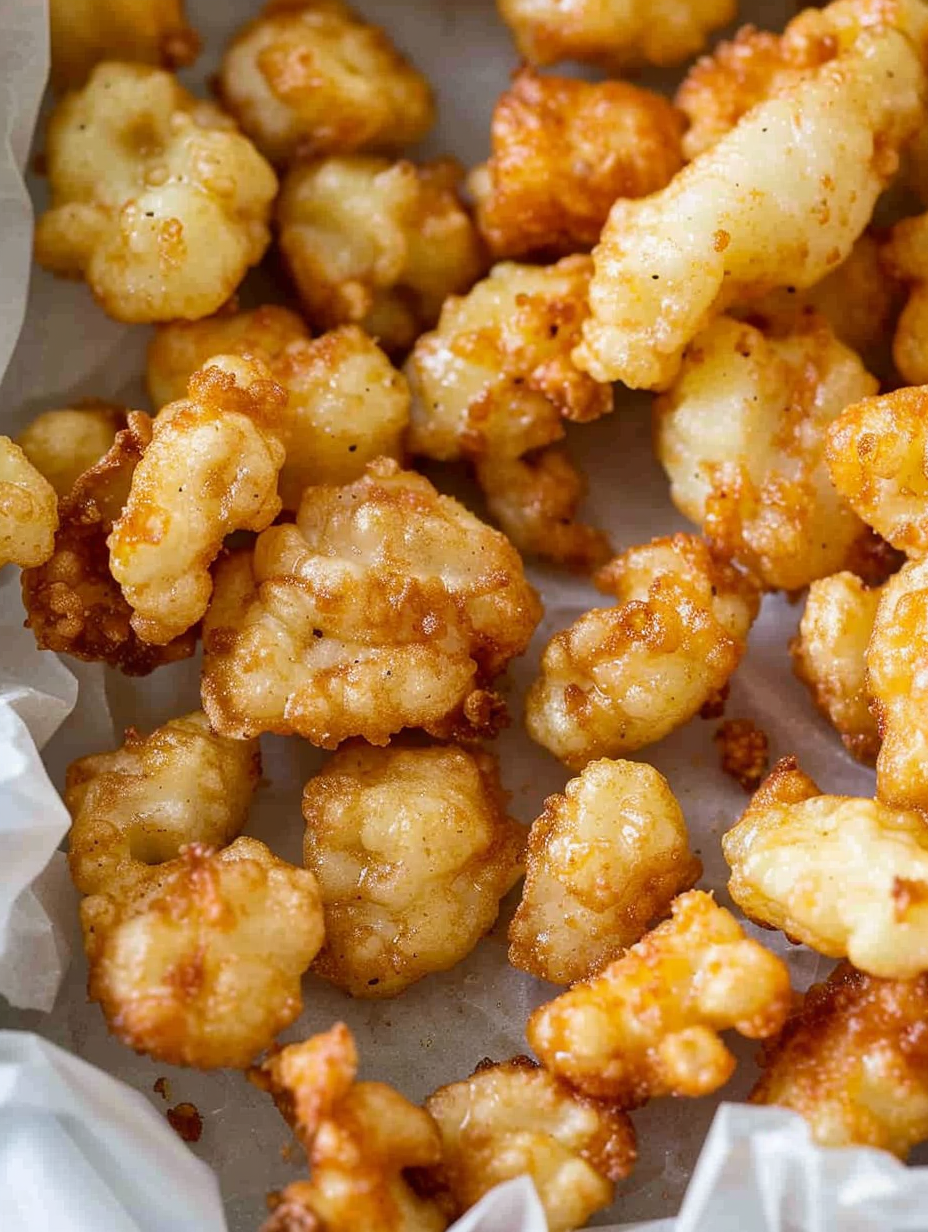
My favorite part is watching the first curd break open: the batter shines, the edge crisps, and the interior pulls into soft strings of cheese. At family gatherings these have become the unofficial icebreaker — everyone passes around the platter and compares dipping strategies. The cooking adjustments I made — a short freeze, a cold soda batter, and precise oil temperature — turned good curds into unforgettable ones.
Store any leftover fried curds in an airtight container in the refrigerator for up to 2 days. For best texture, reheat in a 375°F oven on a wire rack for 6–8 minutes — this restores crispness without over-melting the interior. If you want to freeze curds, perform the pre-flour step and freeze them on a tray before transferring to a freezer bag; they keep well for up to 1 month and should be fried from frozen, adding 15–20 seconds to cook time.
If cheese curds are unavailable, cut a semi-firm cheese (like mozzarella or young cheddar) into 1-inch cubes; note that results vary because curds have unique moisture and texture. For a gluten-free option, substitute a 1:1 gluten-free flour blend and ensure the blend contains xanthan gum for adhesion. Swap club soda with a cold sparkling water if needed, though club soda's mineral content lends a slightly better lift.
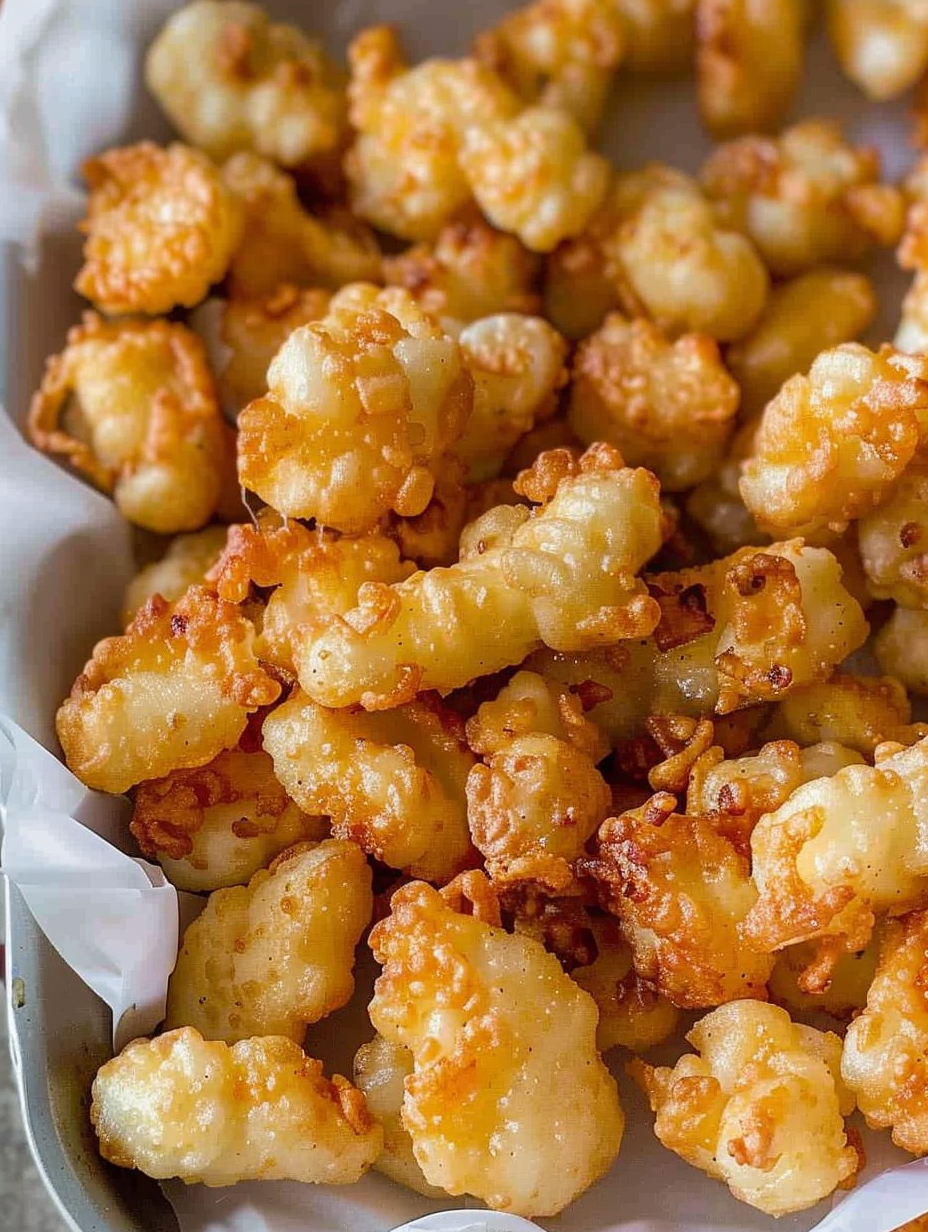
Serve with classic condiments like warmed marinara, ranch dressing, honey mustard, or spicy mayo. For a festival-style platter, include pickles, sliced apples, and potato chips for contrasting textures. Garnish with chopped chives or smoked paprika for color and a flavor pop. These are perfect as an appetizer for game day or as a fun side to burgers and fries.
Fried cheese curds are a beloved fair and tavern snack in many parts of the United States, particularly in the Midwest where cheese curds are produced fresh. Their origins trace to dairy regions where curds were a byproduct of cheese-making, and frying them became a natural way to showcase a regional specialty. Over time they became synonymous with county fairs and stadium concessions, a nostalgic treat with deep local roots.
In cooler months, pair the curds with a warm smoked tomato or bacon jam for cozy depth. Summer versions shine with herb-forward dips like basil-ranch or a lemony aioli. Holiday parties can feature curds dusted with cayenne or Old Bay in place of plain batter for an elevated flavor suited to festive gatherings.
For easy entertaining, pre-flour and freeze several trays of curds a day or two in advance; keep them frozen until frying to shorten party-day prep. Assemble dipping sauces ahead of time and warm them just before serving. Use multiple small batches on the stove to maintain oil temperature, and keep finished curds on a low oven rack to stay warm while additional batches are cooked.
These fried cheese curds bridge childhood fair memories and grown-up entertaining. Make a double batch — they vanish quickly — and don’t be surprised when guests beg for the recipe. The joy is in the sharing, the crunchy bite, and that warm, melty center.
Freeze floured curds for at least 60 minutes to prevent cheese leakage during frying.
Use a thermometer and maintain oil at 360°F for even browning and minimal oil absorption.
Whisk batter gently and use cold club soda to keep it light and airy; avoid over-mixing.
Fry in small batches to keep oil temperature steady and avoid crowding the pot.
Drain fried curds on a wire rack rather than paper towels to preserve crispness.
This nourishing fried cheese curds recipe is sure to be a staple in your kitchen. Enjoy every moist, high protein slice — it is perfect for breakfast or as a wholesome snack any time.
Yes — you can freeze the pre-floured curds on a tray, then bag them for up to 1 month and fry directly from frozen, adding about 15–20 seconds to the frying time.
Use a deep-fry thermometer to maintain 360°F. If you don't have one, test a small batter drop; it should sizzle and rise immediately without turning dark within 10–15 seconds.
This Fried Cheese Curds recipe makes perfectly juicy, tender, and flavorful steak every time! Serve with potatoes and a side salad for an unforgettable dinner in under 30 minutes.
Toss cheese curds to reach room temperature, then toss with half the flour until lightly coated. Arrange in a single layer on a parchment-lined tray and freeze for 60 minutes to firm the coating.
Combine remaining flour with baking powder and salt. Whisk in cold club soda until smooth and slightly thickened; avoid over-mixing to keep batter bubbly.
Fill a heavy pot with about 3 inches of oil and heat to 360°F. Use a thermometer to monitor temperature and adjust heat to maintain it while frying small batches.
Dip frozen, floured curds into batter, letting excess drip off. Fry in batches for about 60 seconds, turning once after ~30 seconds, until golden brown and crisp.
Remove to a wire rack to drain briefly, then serve hot with preferred dipping sauces. Store leftovers refrigerated and reheat in a 375°F oven to restore crispness.
Last Step: Please leave a rating and comment letting us know how you liked this recipe! This helps our business to thrive and continue providing free, high-quality recipes for you.
Leave a comment & rating below or tag
@feastinarecipe on social media!

Cozy, bright, and ready fast, this Instant Pot lemon chicken orzo soup brings tender chicken, fresh veggies, and a sunny citrus finish.

Feather-light mini cheesecakes with bright strawberry sauce, a tender biscuit-style base, and creamy filling. Just 47 calories each and irresistibly fresh.

Silky mini cheesecakes swirled with melted chocolate and a splash of Kahlua, nestled on Oreo crusts and crowned with fresh whipped cream.
Leave a comment & rating below or tag @feastinarecipe on social media!
Enjoyed this recipe? Share it with friends and family, and don't forget to leave a review!
This recipe looks amazing! Can't wait to try it.
Comments are stored locally in your browser. Server comments are displayed alongside your local comments.

Join to receive our email series which contains a round-up of some of our quick and easy family favorite recipes.
