
>>

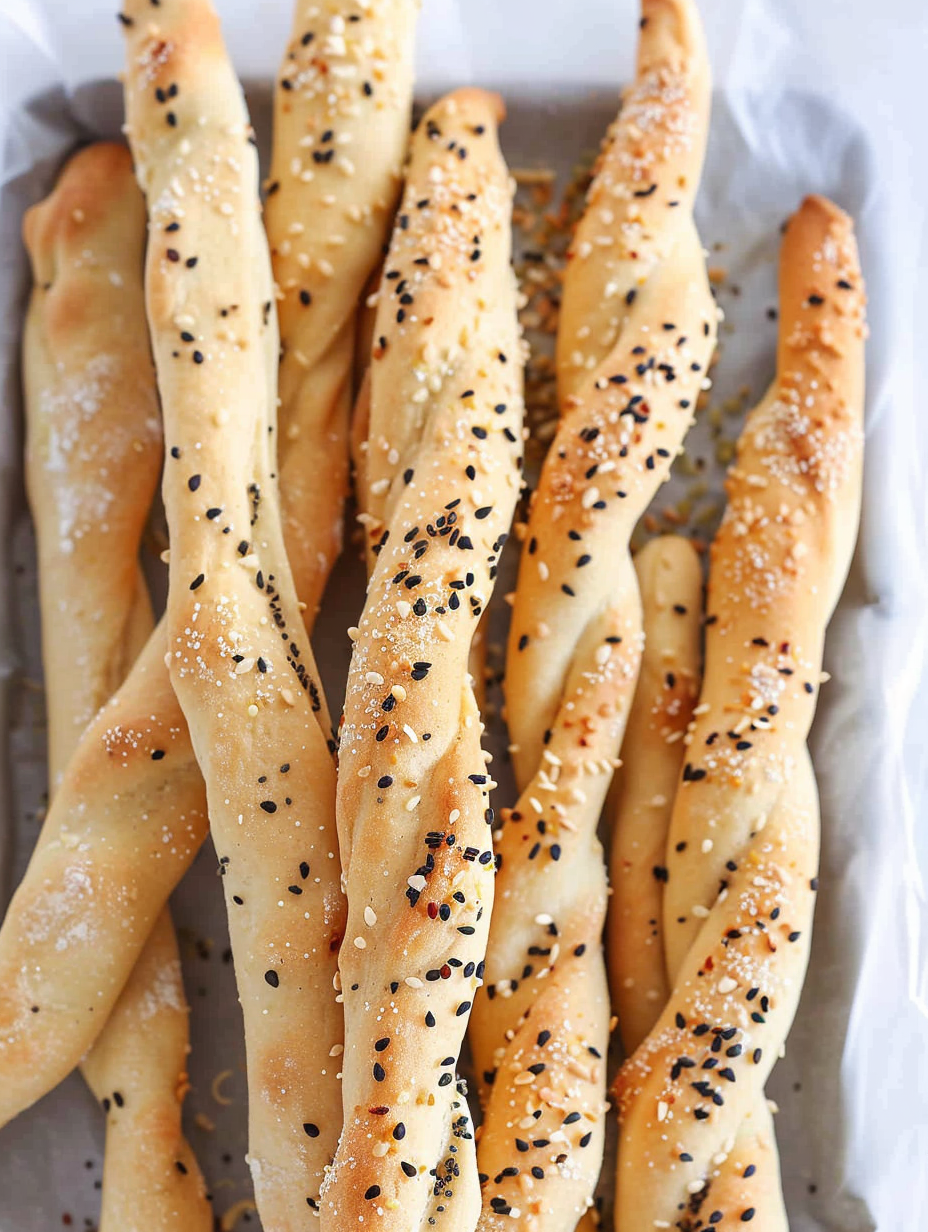
Ultra-crispy, customizable breadsticks made with pantry ingredients — perfect for snacking, cheese boards, and gatherings. Yields 16–20 long breadsticks.
This simple grissini recipe has been a favorite on my table ever since I first tested it back in December 2020 and decided to update it today with a few small clarifications. I fell for these long, crunchy breadsticks because they are fast to make, endlessly adaptable, and deliver that unmistakable crisp snap that brings people together around a cheese or charcuterie board. I discovered the dough formula during a weekend of improvising with pantry staples: a base of flour, a whisper of yeast, olive oil, and just the right amount of water to make a pliable dough. The result was instantly addictive — my family kept reaching for another stick while I was still plating the first batch.
What makes these grissini special is the texture: thin, crisp exterior with a slightly airy interior when not stretched too thin. They toast quickly in a hot oven and take on the flavor of whatever seeds or herbs you sprinkle on top — sesame for nuttiness, poppy for subtle crunch, or a dusting of parmesan and garlic powder for savory depth. They are easy to scale, freeze well at the dough stage, and are a forgiving introduction to shaping elongated breads. Serve them with olive oil for dipping, alongside soft cheeses, or simply nibble them as a snack while you prepare the rest of a meal.
On the first test, my partner remarked that the texture reminded him of bakery grissini we used to buy at the market; since then I have served these at holiday get-togethers and casual weeknight boards. Guests love that they can pick their favorite seed topping, and I love how reliably they bake up golden and crunchy, even when I make a dozen substitutions.
What I love most is how reliably these turn out even when I'm juggling other dishes. At a recent holiday board, friends praised their crunch and the fact they were homemade. Small changes — swapping sesame for poppy or brushing with herbed butter — completely change the character, so they're a fun, low-risk way to experiment with flavors.
To keep sticks crisp, allow them to cool completely on a wire rack before storing. Place in an airtight container or resealable bag at room temperature for up to four days. If they lose crispness, re-crisp in a preheated 300°F (150°C) oven for 3–5 minutes. For longer storage, freeze the shaped dough (before the final proof) in a sealed freezer bag for up to three months; when ready to bake, thaw completely, let rise until puffy, then slice and bake as instructed. Avoid refrigeration of the baked sticks, which draws out moisture and softens the crust.
If you don't have bread flour, all-purpose is a simple swap. For a nuttier flavor, replace up to 25% of the flour with whole-wheat flour — add an extra teaspoon of water to compensate. Swap olive oil with melted butter for a richer taste, or use avocado oil for a neutral flavor. If gluten-free is required, this recipe will need a tested gluten-free flour blend and xanthan gum; total hydration will change, so proceed cautiously and expect a different texture. Use active dry yeast if instant isn't available, but dissolve it in the lukewarm water and wait 5 minutes until bubbly before mixing.
Serve grissini alongside a cheese board with soft cheeses like burrata or robiola, and cured meats such as prosciutto and salami. They make an elegant starter when paired with small bowls of extra-virgin olive oil and balsamic for dipping, or with hummus and roasted red pepper dip. For a crowd, arrange upright in a jar for a rustic display. Garnish with a few fresh herb sprigs or a dusting of flaky sea salt for a finishing touch.
Grissini hail from northern Italy, particularly the Piedmont region, where they have historically been a staple since the 17th century. Originally created to be long-lasting and portable, these slender breadsticks were often carried by travelers and used as a convenient accompaniment to meals. Regional variations include thicker, softer sticks in southern Italy and very thin, cracker-like versions at markets. Their name, grissini, reflects a rustic tradition of bread-making that emphasizes texture and simplicity.
In spring and summer, top the dough with fresh herbs such as chopped rosemary or thyme before baking for aromatic, garden-fresh notes. In autumn, add a mix of toasted pumpkin seeds and a sprinkle of smoked paprika for a heartier flavor. For winter holidays, brush sticks with melted butter and a pinch of grated parmesan and black pepper, or roll lightly in crushed pistachios and a touch of orange zest for a festive twist. Adjust bake time slightly if you add heavy toppings to avoid burning.
For planning, double the dough and freeze half for later. Shape and slice the baked sticks for grab-and-go snacks — they travel well when wrapped in parchment. If prepping for a party, bake the day before and re-crisp just before serving. Use small, labeled freezer bags for dough portions so you can thaw exactly what you need. When proofing, place the dough in the oven with the light on to maintain a warm, steady environment if your kitchen is cool.
These grissini are a joyful little project that reward a small amount of time with a lot of crunchy satisfaction. Whether you're assembling a board or simply craving a crunchy nibble, they'll quickly become a pantry favorite. Make them your own by experimenting with toppings and share the ones that surprise you most.
Use lukewarm water — comfortably warm to the wrist — to activate yeast without killing it.
Don’t make any sections too thin when pulling strips; thin spots burn quickly and lead to uneven baking.
Allow sticks to cool completely before storing to prevent trapped steam from softening the crust.
If using active dry yeast, bloom it in the water for 5 minutes before mixing into the flour.
This nourishing crispy italian breadsticks (grissini) recipe is sure to be a staple in your kitchen. Enjoy every moist, high protein slice — it is perfect for breakfast or as a wholesome snack any time.
Yes — shaped and sliced breadsticks will keep in an airtight container at room temperature for up to 4 days. Re-crisp in a 300°F oven for a few minutes if needed.
Freeze the kneaded dough in an airtight freezer bag. When ready, thaw completely, let it puff up during proofing, then shape and bake.
This Crispy Italian Breadsticks (Grissini) recipe makes perfectly juicy, tender, and flavorful steak every time! Serve with potatoes and a side salad for an unforgettable dinner in under 30 minutes.
Whisk flour, salt, and yeast together in a bowl. If adding parmesan or garlic powder, incorporate now to ensure even distribution.
Stir in lukewarm water and olive oil with a spatula until a soft dough forms. Add a teaspoon more water if needed for whole-grain flours or cheese additions.
Turn onto a lightly floured surface and knead 1–2 minutes until smooth and cohesive — enough to develop some gluten but keep the dough tender.
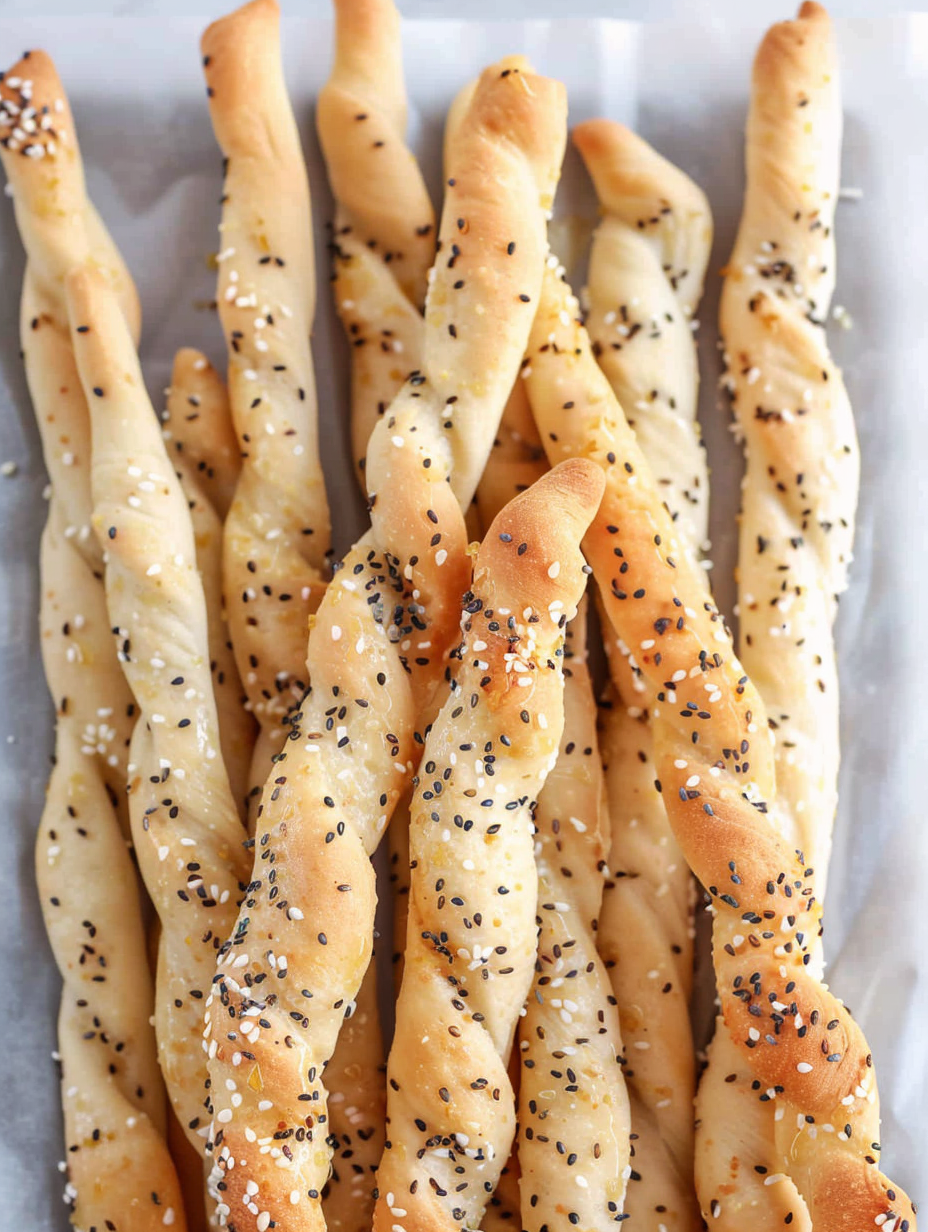
Place dough on parchment and flatten to an 11 x 7 inch rectangle. Brush with oil, sprinkle seeds, cover loosely, and let rise for about 1 hour in a warm place.
Preheat oven to 400°F (205°C). Transfer dough to two parchment-lined sheets and cut into 1/2 inch strips. Gently stretch each strip to lengthen without making thin spots.
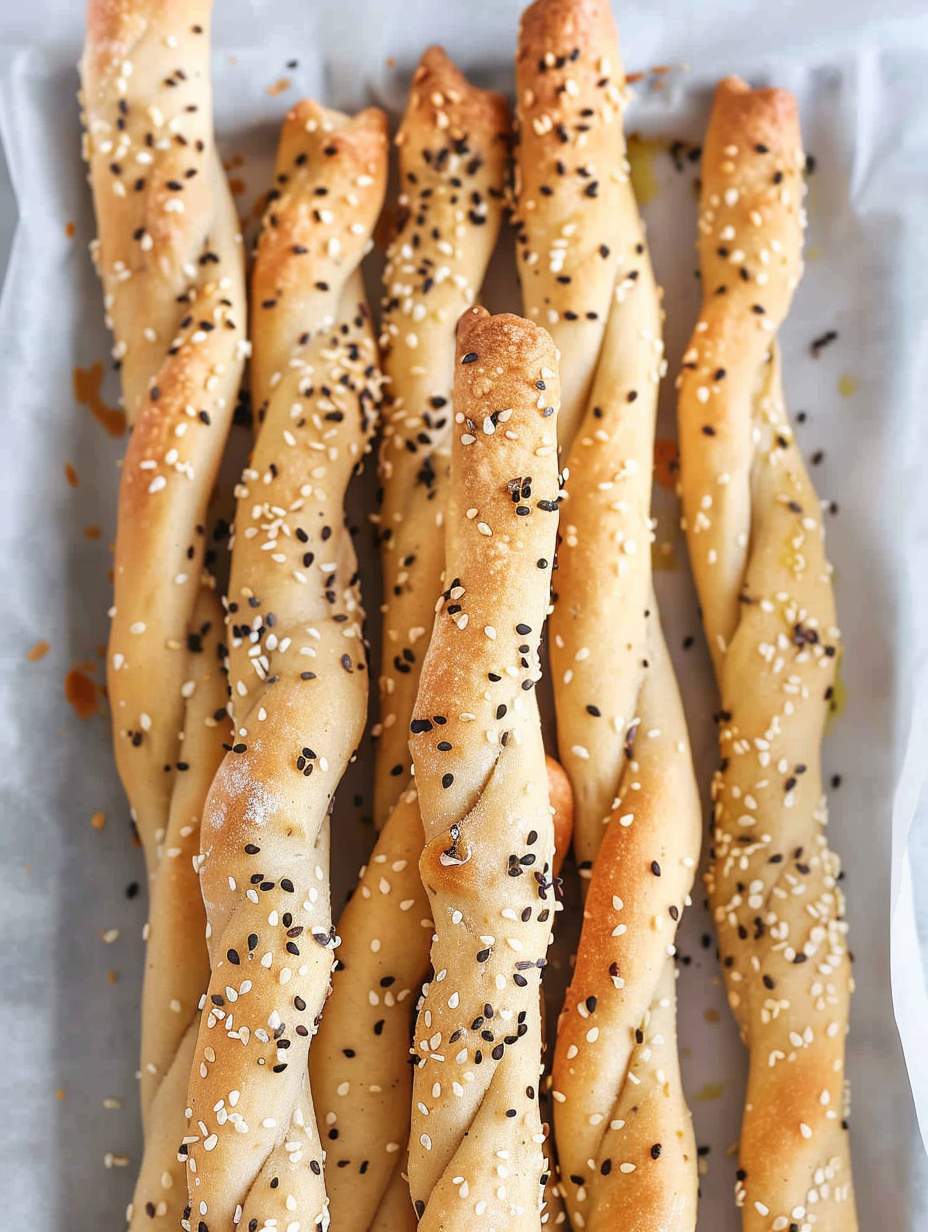
Bake 15 minutes, check for golden color and crispness, and bake up to 20 minutes depending on thickness. Cool on rack to allow sticks to crisp fully.
Last Step: Please leave a rating and comment letting us know how you liked this recipe! This helps our business to thrive and continue providing free, high-quality recipes for you.
Leave a comment & rating below or tag
@feastinarecipe on social media!

Cozy, bright, and ready fast, this Instant Pot lemon chicken orzo soup brings tender chicken, fresh veggies, and a sunny citrus finish.

Feather-light mini cheesecakes with bright strawberry sauce, a tender biscuit-style base, and creamy filling. Just 47 calories each and irresistibly fresh.

Silky mini cheesecakes swirled with melted chocolate and a splash of Kahlua, nestled on Oreo crusts and crowned with fresh whipped cream.
Leave a comment & rating below or tag @feastinarecipe on social media!
Enjoyed this recipe? Share it with friends and family, and don't forget to leave a review!
This recipe looks amazing! Can't wait to try it.
Comments are stored locally in your browser. Server comments are displayed alongside your local comments.

Join to receive our email series which contains a round-up of some of our quick and easy family favorite recipes.
