
>>

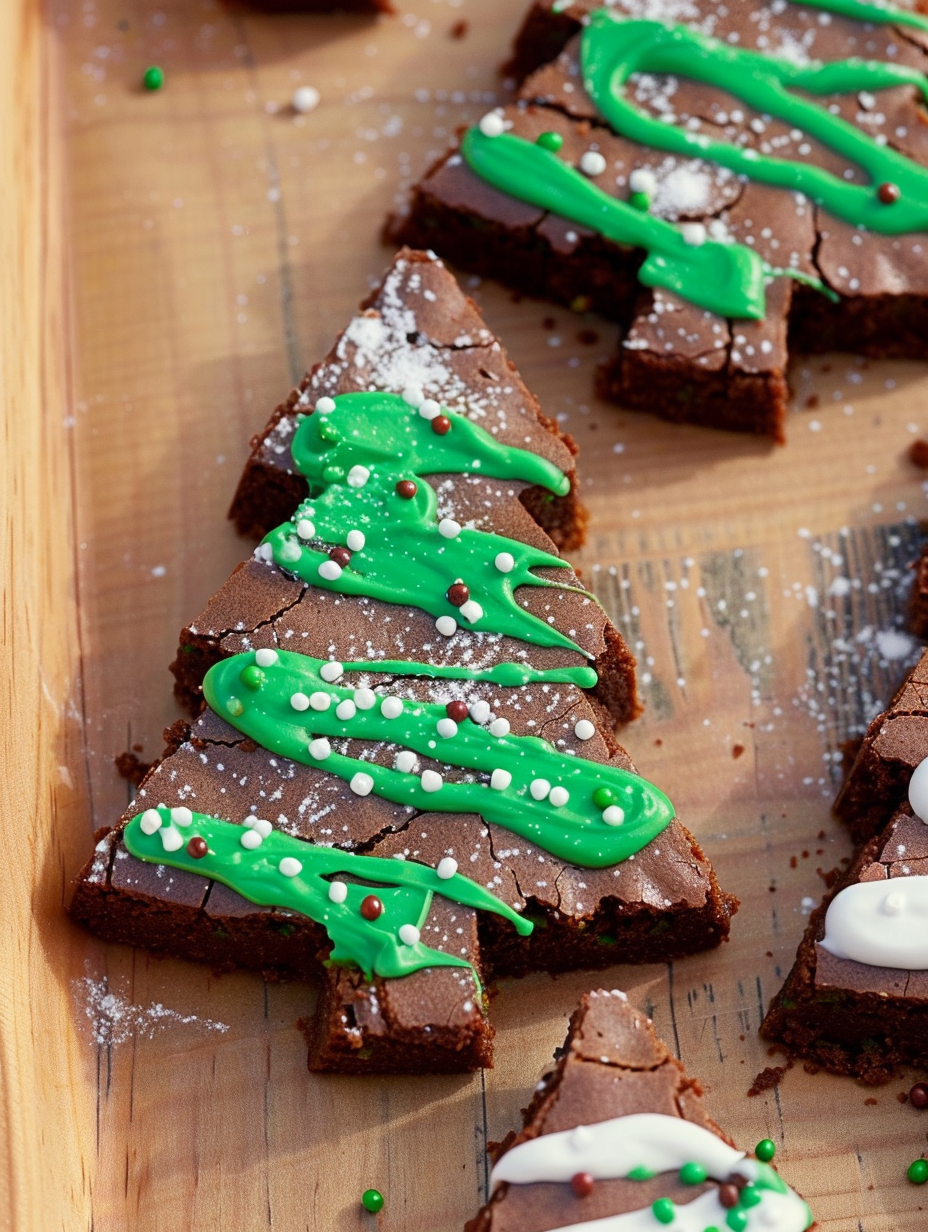
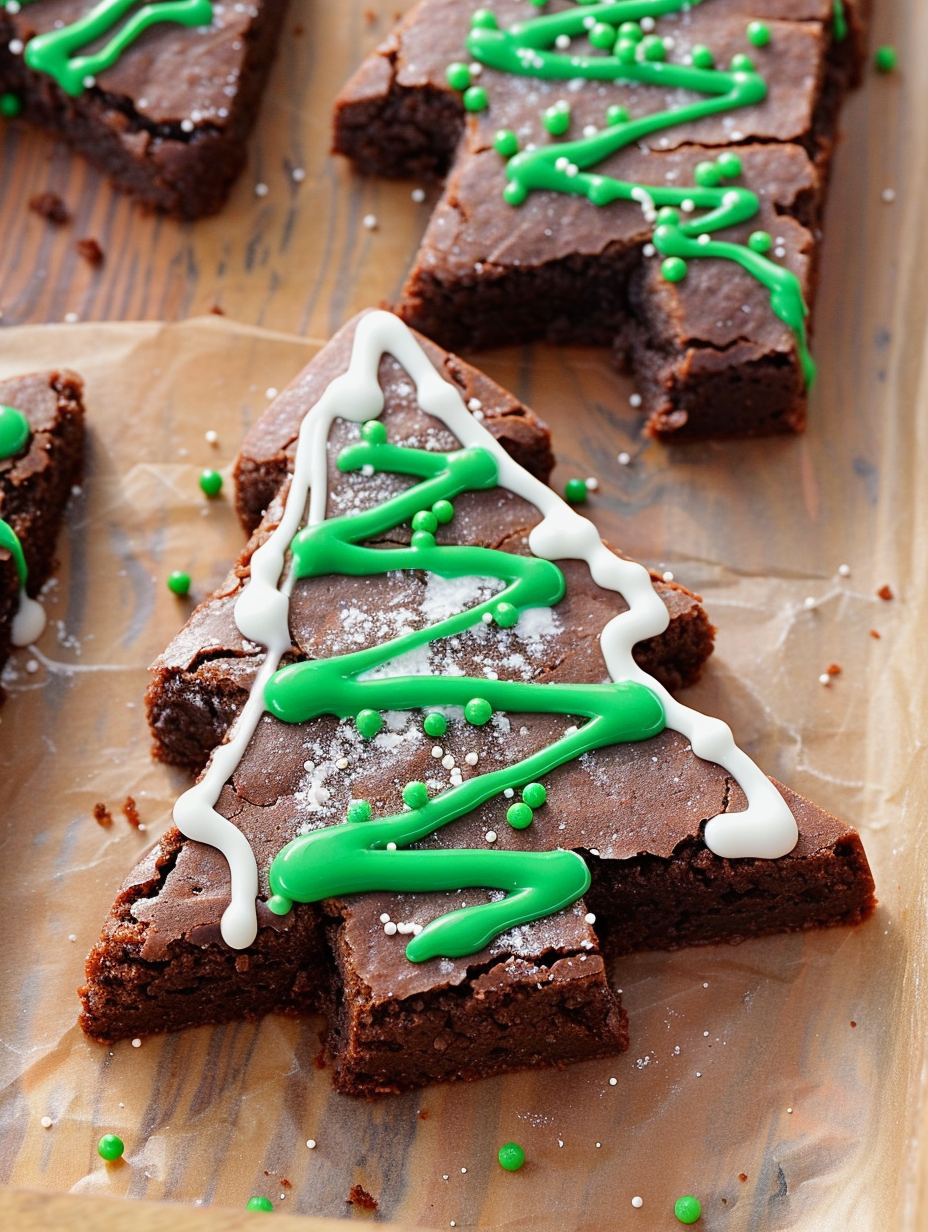
Fudgy brownies cut into Christmas tree shapes then iced and decorated with kids in mind. A festive, hands on holiday treat.
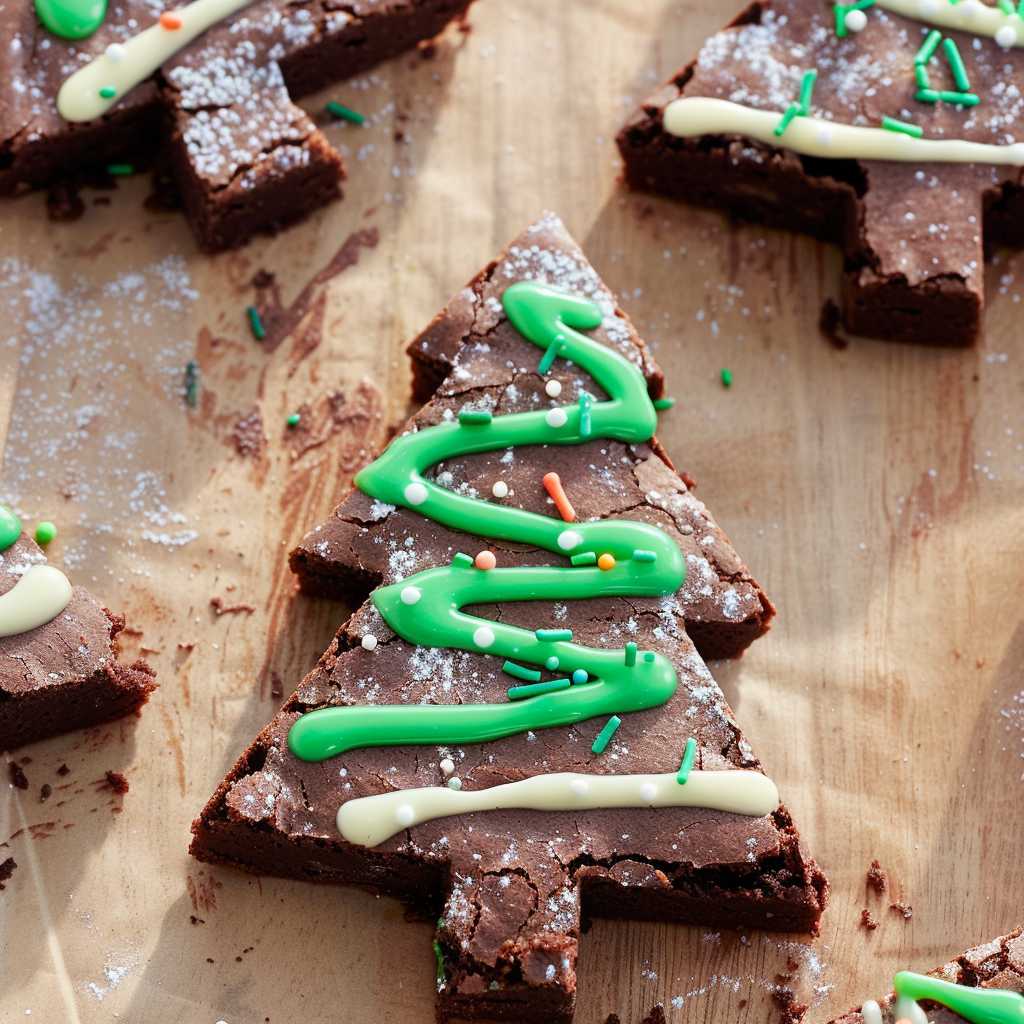
This recipe started as a simple holiday experiment and became a family tradition the very first December I made it. I wanted an easy, hands on activity to share with my kids on a busy afternoon of cookie baking. The result was these Christmas tree brownies that are both deeply chocolatey and ridiculously fun to decorate together. They give you the satisfying chew and crackled top of a classic brownie while turning a tray of bars into dozens of tiny festive trees.
I discovered the particular balance of butter, sugar and cocoa during a rainy weekend when pantry staples were the only option. The texture is fudgy without being underbaked, and the dough bakes into a sturdy slab that chills and cuts cleanly into shapes. Decorating time becomes the highlight. Little fingers love piping the green and white icing and scattering sprinkles while adults can take charge of cutting perfect trees. Serve these at a classroom party or place them on a holiday platter and watch them disappear.
Our first year making them we set up a decorating station on the kitchen island and the whole family went to work. The living room smelled like chocolate for the rest of the day and my youngest proudly handed out trees to neighbors. It quickly became one of those recipes people ask for again and again.
My favorite part is watching the variety of designs my children create. Sometimes the craziest decorated tree wins special praise and sometimes we make matching sets for neighbors. It brings the family together and turns baking into an event rather than a task.
To maintain texture and freshness, store decorated trees in a single layer in an airtight container. If stacking is necessary, place a sheet of parchment paper between layers to protect the icing. At room temperature they will remain good for two days, refrigerated up to five days. For longer storage place undecorated cut shapes on a tray in the freezer until firm, then transfer them to a freezer safe bag for up to three months. Thaw in the refrigerator before decorating to avoid condensation on the icing.
If you need a dairy free version replace the butter with a block style plant based baking stick measured cup for cup. For an egg replacement use a commercial egg replacer following package directions or two tablespoons of ground flaxseed soaked in six tablespoons of warm water per egg, though texture will be slightly different. To make a gluten free batch substitute a cup for cup gluten free blend that contains xanthan gum. Cocoa quality changes the depth of chocolate flavor, so choose a good unsweetened cocoa for best results.
Arrange the trees on a tiered platter for a festive centerpiece. Pair them with hot chocolate or a lightly spiced coffee for adults. Add a dusting of extra powdered sugar for a snow like finish or place a small edible gold star sprinkle at the top of each tree for a special touch. These treat sized desserts also work well packaged in cellophane for teacher gifts and party favors.
Turning baked goods into small symbolic shapes is a classic holiday tradition in many cultures. Shaping brownies or cakes into trees and stars nods to the broader practice of festive shaped confections. In the United States shaped cookies and decorated baked goods are synonymous with neighborhood celebrations and school parties, making this method of shaping a single slab into themed cutouts both efficient and conventional for holiday gatherings.
In winter use peppermint or spiced flavors. Add one quarter teaspoon of peppermint extract to the icing for a cool contrast or fold one half cup of crushed peppermint candy into the batter before baking. For a warmer profile add one quarter teaspoon of cinnamon and a pinch of nutmeg to the dry ingredients. Swap green icing for pastel shades in spring and try egg shaped cutters for Easter celebrations.
Prepare the slab and bake two days ahead, chill and cut, then store the undecorated shapes in an airtight container in the refrigerator. When ready to serve, set up a small decorating station with the two icings and sprinkles so children or guests can personalize their trees. This approach keeps the work light on the day of a party and turns decorating into a communal activity rather than a single task for the host.
These chocolate trees are simple, deeply satisfying and endlessly customizable. They are a small activity that yields big smiles and a plate that disappears quickly at every holiday gathering. Make them your own and enjoy the decorating as much as the eating.
Chill the baked slab before cutting so the cookie cutter yields neat shapes.
Test a small snip in the corner of the ziplock bag before piping to control icing flow.
Add sprinkles immediately after piping so they adhere to the wet icing.
Use parchment paper to lift the slab from the pan for easy cutting.
If you prefer a shinier top, beat the sugar and melted butter until glossy before adding eggs.
This nourishing christmas tree brownies recipe is sure to be a staple in your kitchen. Enjoy every moist, high protein slice — it is perfect for breakfast or as a wholesome snack any time.
Chilled brownies cut much cleaner. Refrigerate the slab for at least thirty minutes after cooling to room temperature for best results.
Store in an airtight container at room temperature for two days, refrigerate up to five days, or freeze undecorated shapes for three months.
This Christmas Tree Brownies recipe makes perfectly juicy, tender, and flavorful steak every time! Serve with potatoes and a side salad for an unforgettable dinner in under 30 minutes.
Preheat oven to 325 degrees Fahrenheit. Grease a nine by thirteen inch pan and line it with parchment paper to allow the slab to lift out after baking.
Whisk together flour, cocoa powder and kosher salt in a bowl until evenly combined. Sift if desired to remove lumps.
Using a mixer, combine melted butter, sugar and vanilla until glossy. Add eggs one at a time and mix until smooth and slightly thickened.
Slowly fold the dry ingredients into the wet mixture with a spatula until just combined. Avoid over mixing to keep the brownies fudgy.
Pour batter into prepared dish, smooth the top and bake for about thirty minutes. The center should be set with a few moist crumbs clinging to a toothpick.
Allow to cool completely, then refrigerate for at least thirty minutes to firm the slab and make cutting easier.
Cut tree shapes using a cookie cutter starting from the edges. Mix powdered sugar and milk to a piping consistency, color half green and pipe alternating lines. Add sprinkles while icing is wet.
Let icing set slightly, then arrange on a platter and serve. Store leftovers in an airtight container.
Last Step: Please leave a rating and comment letting us know how you liked this recipe! This helps our business to thrive and continue providing free, high-quality recipes for you.
Leave a comment & rating below or tag
@feastinarecipe on social media!

Cozy, bright, and ready fast, this Instant Pot lemon chicken orzo soup brings tender chicken, fresh veggies, and a sunny citrus finish.

Feather-light mini cheesecakes with bright strawberry sauce, a tender biscuit-style base, and creamy filling. Just 47 calories each and irresistibly fresh.

Silky mini cheesecakes swirled with melted chocolate and a splash of Kahlua, nestled on Oreo crusts and crowned with fresh whipped cream.
Leave a comment & rating below or tag @feastinarecipe on social media!
Enjoyed this recipe? Share it with friends and family, and don't forget to leave a review!
This recipe looks amazing! Can't wait to try it.
Comments are stored locally in your browser. Server comments are displayed alongside your local comments.

Join to receive our email series which contains a round-up of some of our quick and easy family favorite recipes.
