
>>

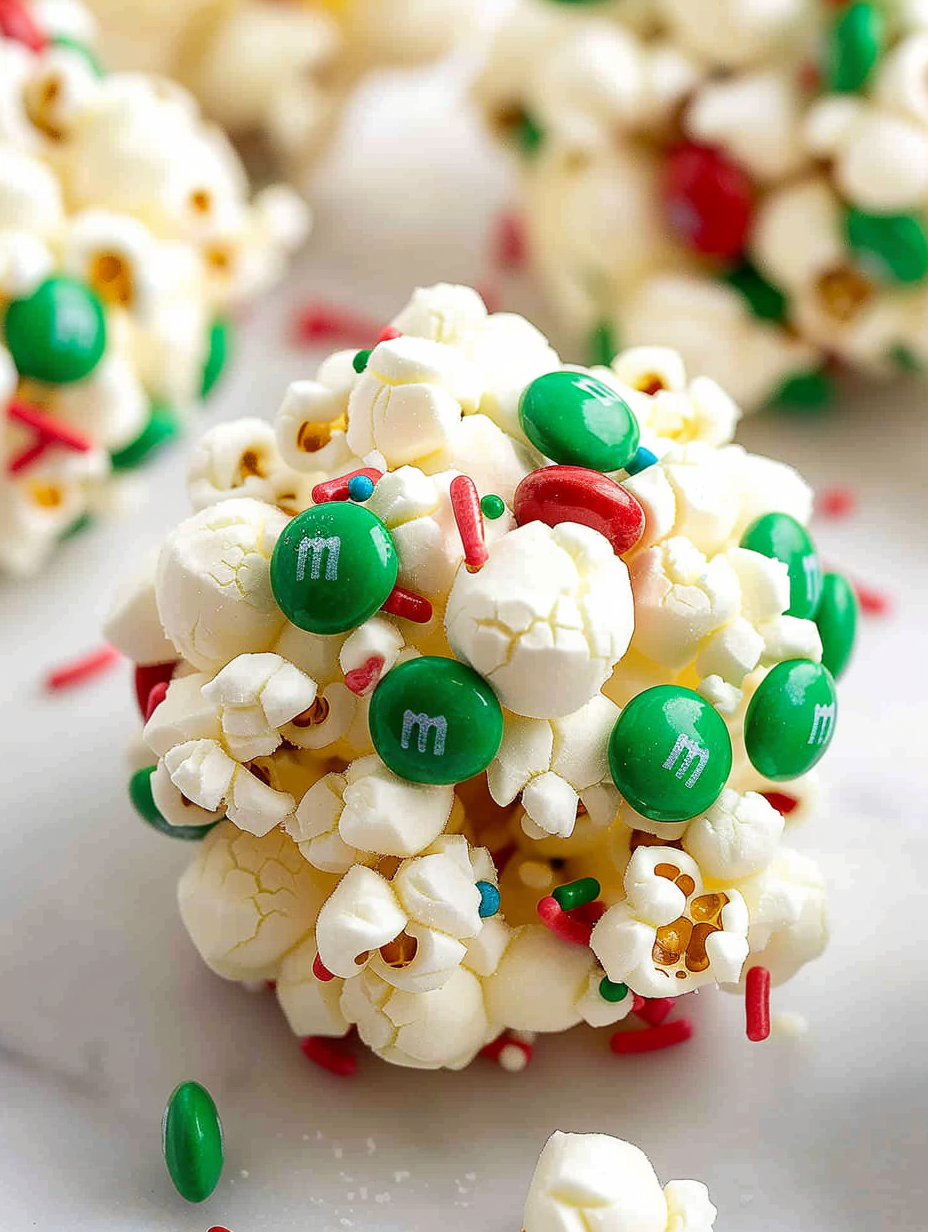
Festive no-bake popcorn balls made with gooey marshmallows, butter, colorful M&Ms and sprinkles—an easy holiday treat that kids and adults adore.

This recipe exists to bring a bit of holiday sparkle to the simplest snack ingredients. I first made these Christmas popcorn balls during a December afternoon when the tree went up and the oven was already full of cookies. I wanted something quick, bright and portable for school parties and neighborhood cookie swaps, so I turned to the pantry staples everyone has on hand: popcorn, miniature marshmallows, butter, and festive candies. The result was a sticky, sweet, crunchy ball of joy that vanished within hours and became an instant seasonal favorite.
What makes these treats special is their combination of textures and colors. The popcorn gives a light crunch, the marshmallow creates a tender, chewy binder, the butter adds richness and sheen, and the red and green M&Ms plus sprinkles deliver a cheerful bite on every side. They are no-bake, require minimal hands-on time, and are forgiving to shape, so they are perfect to make with kids or for last-minute party platters. Over the years I have tweaked cooling time and portion size to get consistent shapes that hold together without excessive chewiness.
I vividly remember my niece pressing sprinkles into the balls and beaming when the colors popped against the white marshmallow coating. Our house smelled like warm butter and sugar, and the mixture of sticky fingers and laughter is now a holiday memory. These have been a hit at school functions and neighborhood gift exchanges, and I often wrap them individually in cellophane for a personal touch.

My favorite part of making these is the ritual of assembling a tray for neighbors with a ribbon. The popcorn balls travel well and are forgiving if you make them a little larger or smaller; portion sizes simply change the count. Family and friends always remark on the nostalgic quality, and children love helping with the decorating step, especially when they get to pick which candies go on top. This simplicity and the ability to customize colors keeps this recipe in regular rotation throughout the holidays.
Store the finished spheres in an airtight container at room temperature, keeping them away from sunlight and heat sources which can soften the candy shell and make the binder tacky. For best texture, layer parchment or wax paper between pieces to prevent sticking if you must stack them. Refrigeration is not recommended as it can make marshmallow fillings firm and sticky; however, you may freeze wrapped portions for up to three months. To thaw, remove from freezer and let sit at room temperature for 30 to 60 minutes before serving to restore chewiness without condensation issues.
Substitutions are straightforward. Replace unsalted butter with a plant-based spread if dairy-free is needed, though texture will be slightly different and flavor less rich. Swap M&Ms for chopped chocolate pieces or holiday-colored candy melts for a similar appearance. If you need a gelatin-free marshmallow alternative for strict diets, look for vegan marshmallows; they melt differently and may require slightly more stirring. For a nutty twist, stir in 1/2 cup toasted nuts, but note allergen considerations when serving to groups.
Serve these as part of a holiday snack board alongside chocolate-dipped pretzels, spiced nuts and fresh fruit for balance. Wrap individual balls in cellophane with ribbon for gifts, or place on cupcake liners for a festive display. For parties, arrange on a tiered stand and scatter extra candies and rosemary sprigs for a wintery look. They pair well with warm beverages like hot cocoa or mulled cider to complement the sweet, toasty popcorn flavor.
Change colors and candies to match any season: pink and white candies with heart sprinkles for Valentine s, orange and black M&Ms with edible glitter for Halloween, or pastel candies and mini marshmallows for Easter. You can also fold in spices like a pinch of ground cinnamon or orange zest into the melted marshmallow for a subtle holiday note. For a winter adult version, add a teaspoon of espresso powder to the melted marshmallow for depth and an extra chocolate kick.
For make-ahead prep, form the balls and freeze on a sheet tray until firm, then transfer to airtight containers or freezer bags with parchment layers. Thaw at room temperature before serving and add fresh sprinkles if needed to freshen the look. If you plan to transport them, pack in a shallow box lined with parchment and add tissue for cushion to prevent candies from being pressed off. Prep timing: you can pop the corn and melt the binder a day ahead, but wait to add M&Ms and sprinkles until just before forming to minimize color bleed.
Readers have told me these are a hit at school events because they are simple and visually appealing. One neighbor used the same base to make team-colored treats for a sports banquet and reported they disappeared in minutes. At a family cookie swap, someone wrapped a single ball in cellophane with a festive tag and won a small prize for Most Creative Treat. These anecdotes show how a humble combination of pantry items can turn into a cherished holiday tradition.
Make a batch this season and let these colorful, chewy spheres become part of your holiday rituals. They are easy to personalize, simple to teach to kids, and always a cheerful addition to any festive table.
Spray your hands lightly with non-stick spray each time you form a ball to prevent excessive sticking and keep shapes smooth.
Allow the marshmallow mixture to cool for about 1 to 2 minutes before adding M&Ms to avoid melting the candy shells.
Store in an airtight container at room temperature for up to 5 days and separate layers with parchment to prevent sticking.
Freeze individual balls wrapped in plastic wrap and then foil for up to 3 months; thaw at room temperature before serving.
If the mixture becomes too firm to shape, warm it gently in the microwave for 10 to 15 seconds and rework quickly.
This nourishing christmas popcorn balls recipe is sure to be a staple in your kitchen. Enjoy every moist, high protein slice — it is perfect for breakfast or as a wholesome snack any time.
This Christmas Popcorn Balls recipe makes perfectly juicy, tender, and flavorful steak every time! Serve with potatoes and a side salad for an unforgettable dinner in under 30 minutes.
Pop 1/2 cup of kernels using an air popper, stovetop method with a teaspoon of oil, or microwave popper. Transfer popped corn to a large bowl and remove any unpopped kernels.
In a large heavy-bottomed pot over medium-low heat, melt 1/2 cup butter. Add a 10-ounce bag of mini marshmallows and stir constantly until smooth and completely melted, about 3 to 4 minutes. Keep heat low to avoid browning.
Remove pot from heat and pour the marshmallow mixture over the popped corn. Fold gently with a heat-proof spatula until the popcorn is evenly coated and glossy.
Let the coated popcorn cool for 1 to 2 minutes, then fold in 1 cup M&Ms and 1/3 cup sprinkles so candies do not soften from excess heat.
Spray your hands with non-stick spray and scoop roughly 1 cup of mixture for medium sized balls. Gently press into a sphere without overworking. Press additional M&Ms on the surface for decoration if desired.
Place formed balls on parchment and let cool at room temperature until set, about 20 to 30 minutes. Store in an airtight container at room temperature for up to 5 days or freeze for longer storage.
Last Step: Please leave a rating and comment letting us know how you liked this recipe! This helps our business to thrive and continue providing free, high-quality recipes for you.
Leave a comment & rating below or tag
@feastinarecipe on social media!

Cozy, bright, and ready fast, this Instant Pot lemon chicken orzo soup brings tender chicken, fresh veggies, and a sunny citrus finish.

Feather-light mini cheesecakes with bright strawberry sauce, a tender biscuit-style base, and creamy filling. Just 47 calories each and irresistibly fresh.

Silky mini cheesecakes swirled with melted chocolate and a splash of Kahlua, nestled on Oreo crusts and crowned with fresh whipped cream.
Leave a comment & rating below or tag @feastinarecipe on social media!
Enjoyed this recipe? Share it with friends and family, and don't forget to leave a review!
This recipe looks amazing! Can't wait to try it.
Comments are stored locally in your browser. Server comments are displayed alongside your local comments.

Join to receive our email series which contains a round-up of some of our quick and easy family favorite recipes.
