
>>

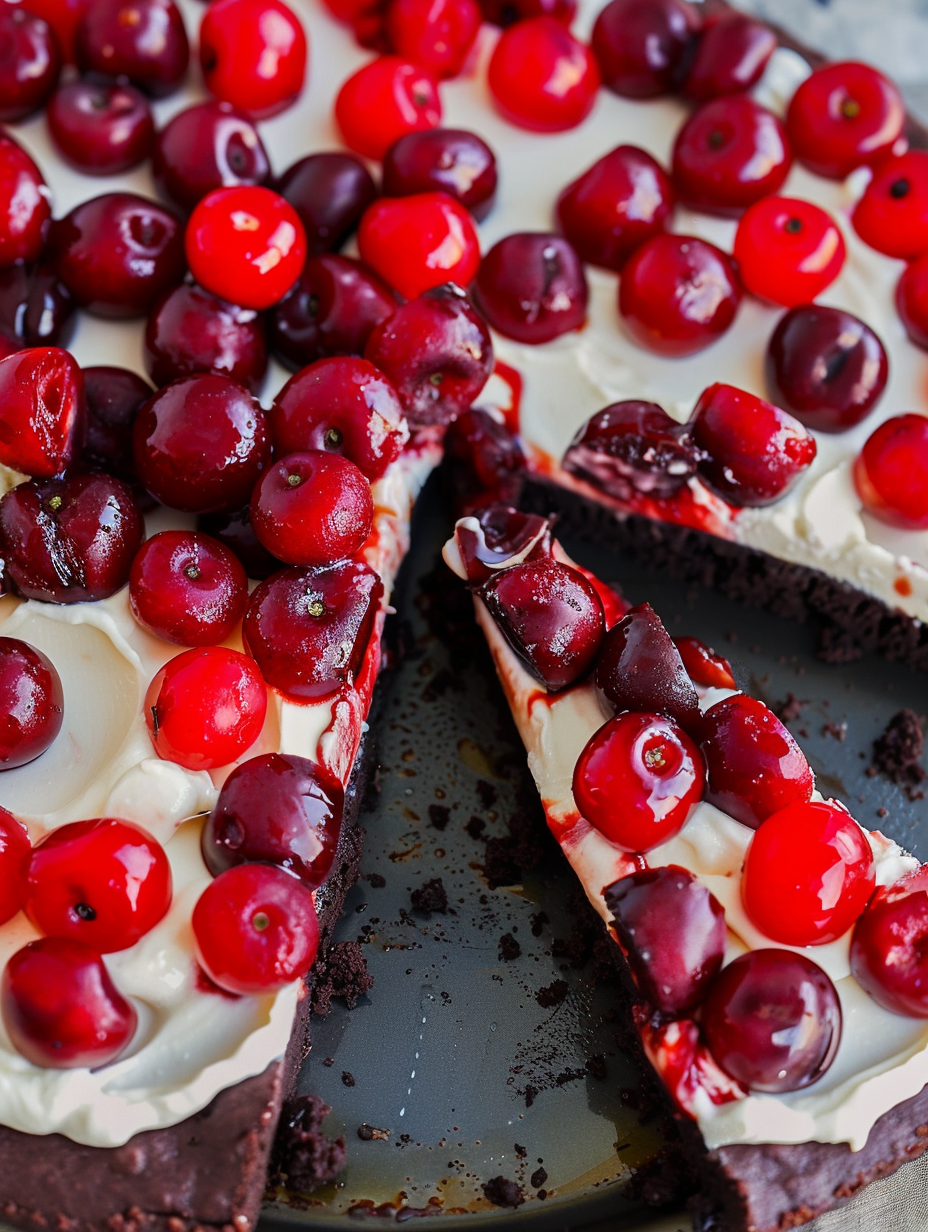
An indulgent, party-ready dessert pizza: a fudgy brownie base topped with a silky cream layer and bright cherry pie filling—perfect for gatherings.
This Chocolate Cherry Brownie Dessert Pizza is one of those joyful recipes I reach for when a crowd is coming over or when I want to make a weeknight treat feel celebratory. I discovered this combination years ago while riffing on a classic layered bar: a fudgy brownie base, a tangy cream cheese layer, and a glossy cherry topping. The first time I served it, my nephews insisted it be the "birthday pie" for months afterwards. The textures—dense chocolate beneath a smooth, slightly sweet cream, finished with the bright burst of cherry—create an unforgettable bite.
I love that this comes together quickly and looks dramatic without a lot of fuss. It’s baked in a 12-inch rimmed pizza pan so slices look like pizza wedges, which is playful for parties and potlucks. I usually make it the day before a gathering, allowing the layers to settle and the flavors to meld; the cherry glaze sinks just a touch into the cream for the ideal balance. Every time I serve it, someone asks for the recipe, and I’m always happy to share the small tricks that make it reliably delicious.
I first shared this at a summer family dinner and watched a shy cousin dig in with delight—her face when the cherry hit the cream was priceless. Over time I tweaked the cocoa and sugar ratio for a slightly darker chocolate presence, and that adjustment made it a household favorite. It’s an easy dessert to personalize and it travels well, making it ideal for potlucks and celebrations.
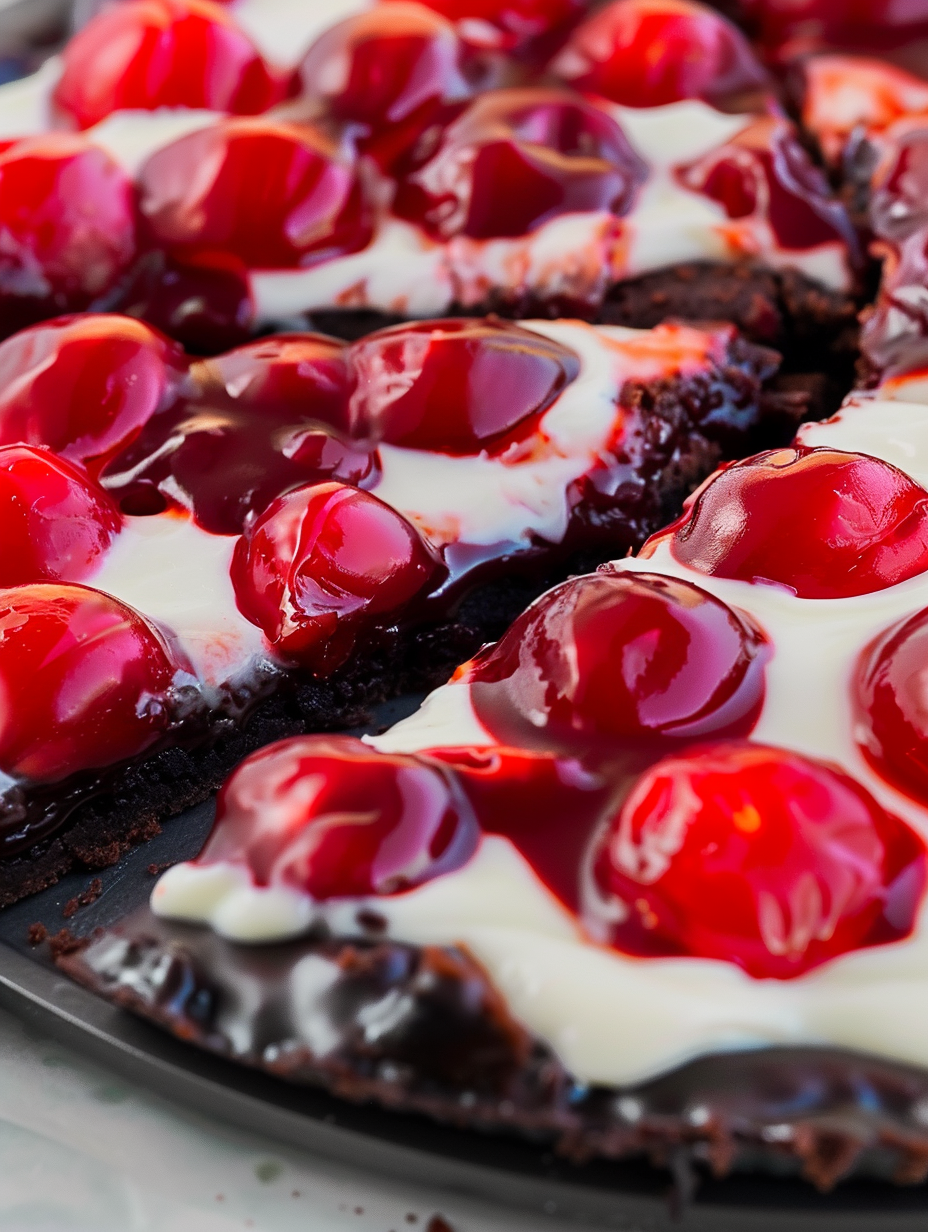
My favorite part is the contrast between the fudgy brownie and the cool cream—it's like two desserts in one. At our last summer barbecue this was the runaway hit; people kept coming back for "just one more slice." It’s a simple, impressive dessert that travels and stores well, which is why it’s on my rotation whenever I need an easy, beautiful finish to a meal.
Store refrigerated in an airtight container or covered tightly with plastic wrap. Slices hold up well for up to 4 days; if you plan to keep it longer, wrap tightly in plastic then foil and freeze up to 2 months. To thaw, move frozen slices to the refrigerator overnight, then let sit 10–15 minutes at room temperature before serving so the cream regains a silky texture. When reheating a single slice for a warm experience, microwave 7–10 seconds—be careful not to melt the cream layer.
For a gluten-free version, substitute 1:1 gluten-free flour blend for the all-purpose flour—measure carefully. Use low-fat cream cheese for a lighter cream layer, though texture will be less rich. To vary the fruit component, replace cherry pie filling with blueberry or mixed berry filling; if using fresh berries, macerate them with a little sugar and cornstarch cooked briefly to thicken before spooning on top. For a dairy-free alternative, try vegan butter and a vegan cream cheese, keeping in mind texture differences.
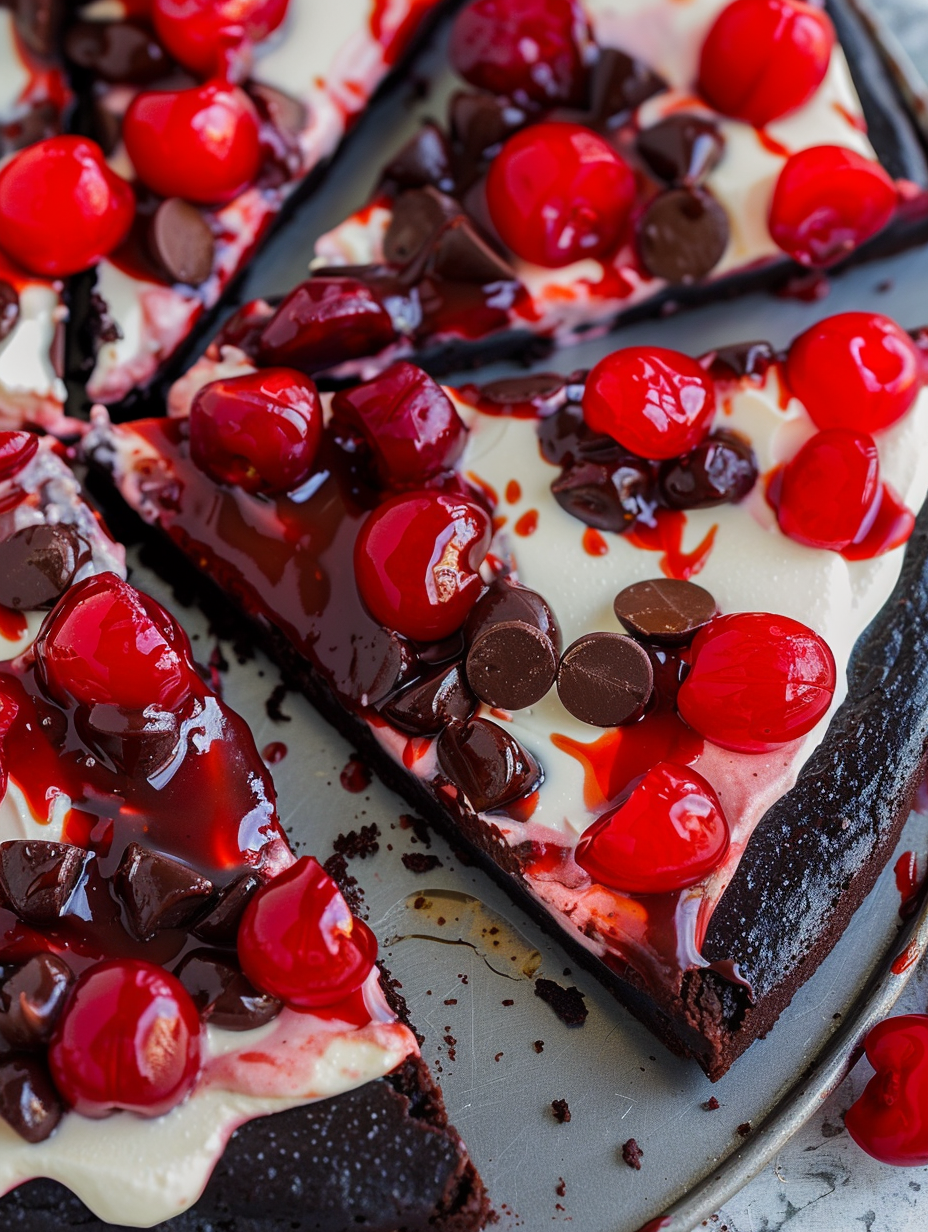
Serve wedges with a dollop of whipped cream or a scoop of vanilla ice cream for an elegant presentation. Garnish with a few fresh cherries or a dusting of cocoa for contrast. This dessert pairs beautifully with strong coffee, espresso, or a dessert wine like Moscato. For seasonal gatherings, serve alongside a simple fruit salad to add brightness and balance the richness.
In summer, swap cherry filling for a fresh strawberry compote—cook down 2 cups fresh strawberries with 1/4 cup sugar and 1 teaspoon lemon juice until thickened. For the holidays, stir 1/4 teaspoon cinnamon and a pinch of nutmeg into the brownie batter for warmth. Autumn gatherings welcome a salted caramel drizzle over the cherries. These small changes let the dessert feel new while keeping the same easy assembly.
To streamline prep, bake the base in the morning, cool, and store wrapped at room temperature. Whip the cream layer mid-afternoon and assemble before guests arrive; the assembled dessert can be refrigerated overnight. Use an offset spatula and warm knife for clean layers and slices. Portion into 12 wedges for buffet service and label containers when freezing individual slices for quick treats later.
This Chocolate Cherry Brownie Dessert Pizza is one of those recipes that becomes part of family rituals—simple to make, striking on the table, and endlessly adaptable. Try it once and you’ll understand why it keeps showing up at my gatherings. Enjoy sharing it as much as I do.
Allow the brownie base to cool completely before spreading the cream layer to prevent melting and separation.
Use a hot, dry knife and wipe it between slices for clean, professional-looking wedges.
Chill the assembled dessert at least 2 hours for easier slicing and neater presentation.
If the cream cheese has lumps, press it through a fine sieve or beat longer at low speed to smooth.
This nourishing chocolate cherry brownie dessert pizza recipe is sure to be a staple in your kitchen. Enjoy every moist, high protein slice — it is perfect for breakfast or as a wholesome snack any time.
This Chocolate Cherry Brownie Dessert Pizza recipe makes perfectly juicy, tender, and flavorful steak every time! Serve with potatoes and a side salad for an unforgettable dinner in under 30 minutes.
Preheat the oven to 350°F. Grease a 12-inch rimmed pizza pan with nonstick spray or line with parchment for easier removal.
Melt 10 tablespoons unsalted butter in a microwave-safe bowl, cool slightly, then whisk in 1 1/4 cups sugar, 2 large eggs, and 1 teaspoon vanilla. Sift in 3/4 cup cocoa powder, 1/2 cup flour, 1/2 teaspoon salt, and 1/4 teaspoon baking powder and stir until combined without overmixing.
Spread batter in the prepared pan and bake 25–30 minutes until the center is set but still slightly moist. Cool completely on a rack before adding layers.
Beat 8 ounces softened cream cheese with 1 1/2 cups powdered sugar until smooth and slightly fluffy, about 2 minutes.
Spread the cream cheese mixture evenly over the cooled brownie, spoon cherry pie filling on top, then chill at least 2 hours. Let sit 10–15 minutes at room temperature before slicing into 12 wedges.
Last Step: Please leave a rating and comment letting us know how you liked this recipe! This helps our business to thrive and continue providing free, high-quality recipes for you.
Leave a comment & rating below or tag
@feastinarecipe on social media!

Cozy, bright, and ready fast, this Instant Pot lemon chicken orzo soup brings tender chicken, fresh veggies, and a sunny citrus finish.

Feather-light mini cheesecakes with bright strawberry sauce, a tender biscuit-style base, and creamy filling. Just 47 calories each and irresistibly fresh.

Silky mini cheesecakes swirled with melted chocolate and a splash of Kahlua, nestled on Oreo crusts and crowned with fresh whipped cream.
Leave a comment & rating below or tag @feastinarecipe on social media!
Enjoyed this recipe? Share it with friends and family, and don't forget to leave a review!
This recipe looks amazing! Can't wait to try it.
Comments are stored locally in your browser. Server comments are displayed alongside your local comments.

Join to receive our email series which contains a round-up of some of our quick and easy family favorite recipes.
