
Cherry Cheesecake Cookies

Soft, chewy cookies with a tangy cream cheese center and a glossy cherry pie filling — the perfect mash-up of two classic desserts.
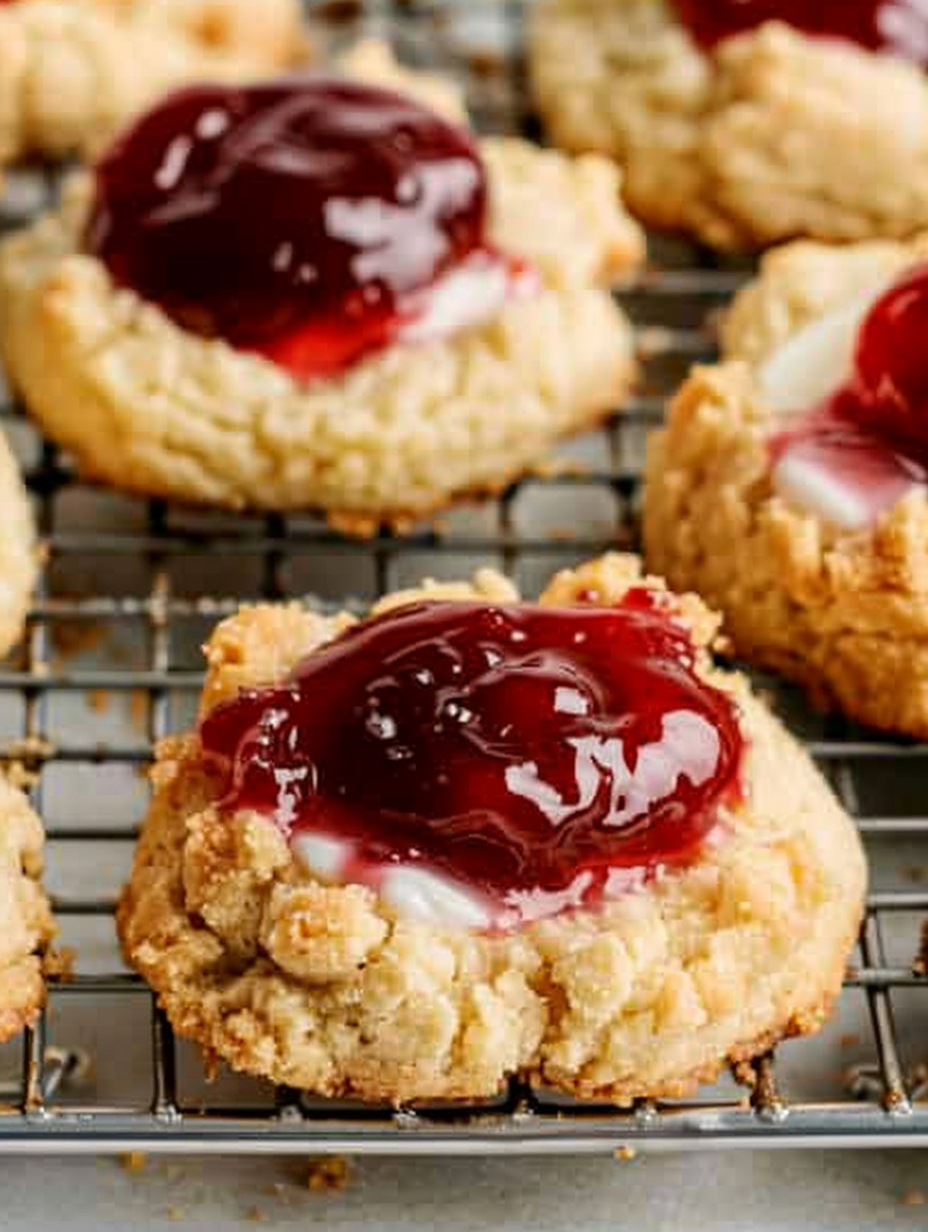
These cherry cheesecake cookies are the kind of treat that instantly becomes a family tradition. I first made them for a neighborhood bake sale one winter when I wanted to combine two favorites — classic thumbprint cookies and a velvety cheesecake bite — into a single, crowd-pleasing treat. The result was unexpectedly delightful: a tender, slightly tangy cookie center with a buttery graham exterior and a jewel of cherry pie filling on top. They tasted like a handheld slice of summer even though it was cold outside, and they kept disappearing faster than I could plate them.
What makes these cookies special is the balance of textures and flavors. The cream cheese and butter keep the interior soft and chewy, while the graham cracker coating gives a crisp, slightly crumbly contrast. The lemon zest lifts the richness and the cherry filling adds a sweet-tart finish that makes every bite sing. Over the years I’ve refined the technique — chilling the dough properly, using egg whites to help the crumbs adhere, and pressing the thumbprint just the right depth — and those small adjustments are why these cookies win contests and requests for seconds.
Why You'll Love This Recipe
- Combination of two favorite desserts into one portable cookie: a soft, creamy center with a crisp graham coating and bright cherry topping that’s irresistible.
- Uses pantry staples and a single can of pie filling, so you can make it without hunting specialty ingredients — ready for holiday tables or weeknight baking.
- Make-ahead friendly: dough can be chilled for up to 48 hours or rolled and frozen for 2 months, making them excellent for planning ahead.
- Great for crowds — the recipe yields about 30 cookies, and they travel well to potlucks, school events, or cookie exchanges.
- Beginner-friendly technique with a short active time; most of the wait is passive chilling, and baking takes only 12 to 15 minutes.
Personally, the first time I served these at a family gathering my aunt asked for the recipe on the spot, and my kids still call them “cherry thumb cookies.” They’ve become our go-to for summer fruit swaps and holiday trays, and every baker who tries them tweaks the pie filling to make them their own.
Ingredients
- Butter: ½ cup (1 stick) unsalted butter, softened to room temperature. Look for high-quality butter like Kerrygold or Plugrá for a richer flavor; it contributes to tenderness and structure.
- Cream cheese: 3 ounces full-fat cream cheese, softened. Full-fat yields the best texture and tang; pack-style blocks are easier to measure than tubs.
- Eggs: 1 egg separated (use the yolk in the dough, save the white for coating). The yolk adds richness while the white helps crumbs adhere when beaten foamy.
- Vanilla & Lemon: 1 teaspoon pure vanilla extract and zest of 1 lemon (about 1 teaspoon). The lemon zest brightens the richness and balances sweetness.
- Salt: ¼ teaspoon fine salt to amplify flavors. If using salted butter, reduce to a pinch.
- Powdered sugar: 1 cup confectioners' sugar for a silky, tender crumb; it dissolves into the dough and keeps the texture soft.
- Flour: 1 cup all-purpose flour for structure; spoon and level for accuracy. Brands like King Arthur or Gold Medal work well.
- Graham cracker crumbs: 1 cup finely crushed graham crackers (about 9 full crackers). Use honey or cinnamon varieties for subtle flavor variation.
- Cherry pie filling: 20 ounces (one standard can) of cherry pie filling. I prefer a brand with whole cherries for a better mouthfeel, such as Pillsbury or a good-quality store brand.

Instructions
Prepare the dough: In a medium mixing bowl, cream together ½ cup softened butter, 3 ounces softened cream cheese, the egg yolk (reserve white), 1 teaspoon vanilla, 1 teaspoon finely grated lemon zest, and ¼ teaspoon salt until light and fluffy — about 2 to 3 minutes with a hand mixer. This aeration contributes to tenderness and helps the dough hold its shape. Add dry ingredients: Gradually beat in 1 cup powdered sugar until smooth, then fold in 1 cup all-purpose flour until a stiff dough forms. Avoid overmixing — stop when the flour is incorporated for a tender crumb. If the dough feels overly sticky, chill briefly to firm it up. Chill the dough: Cover the bowl tightly with plastic wrap and refrigerate for about 2 hours (or up to 48 hours). Chilling solidifies the butter and cream cheese, which prevents excessive spread and deepens flavor. Preheat and shape: Preheat oven to 325 ℉ (163 ℃). Line a sheet pan with parchment or use an ungreased pan. Roll chilled dough into small 1-inch balls using a lightly floured hand for ease of rolling. Coat and thumbprint: Beat the reserved egg white until foamy and brush or dip each dough ball lightly, then roll in graham cracker crumbs to coat. Arrange balls about 2 inches apart and press a thumb into the center of each to create a depression — about ¼ inch deep so it will hold the filling after baking. Bake: Bake at 325 ℉ for 12 to 15 minutes, rotating the pan halfway if needed. Bake until the bottoms are lightly browned and the tops are set but not overly firm. Avoid overbaking to keep centers soft. Cool and fill: Remove cookies from the baking sheet after about 2 minutes and transfer to a cooling rack to cool completely. Once cool, spoon about 1 teaspoon of cherry pie filling into each thumbprint. Allow the filling to settle before serving.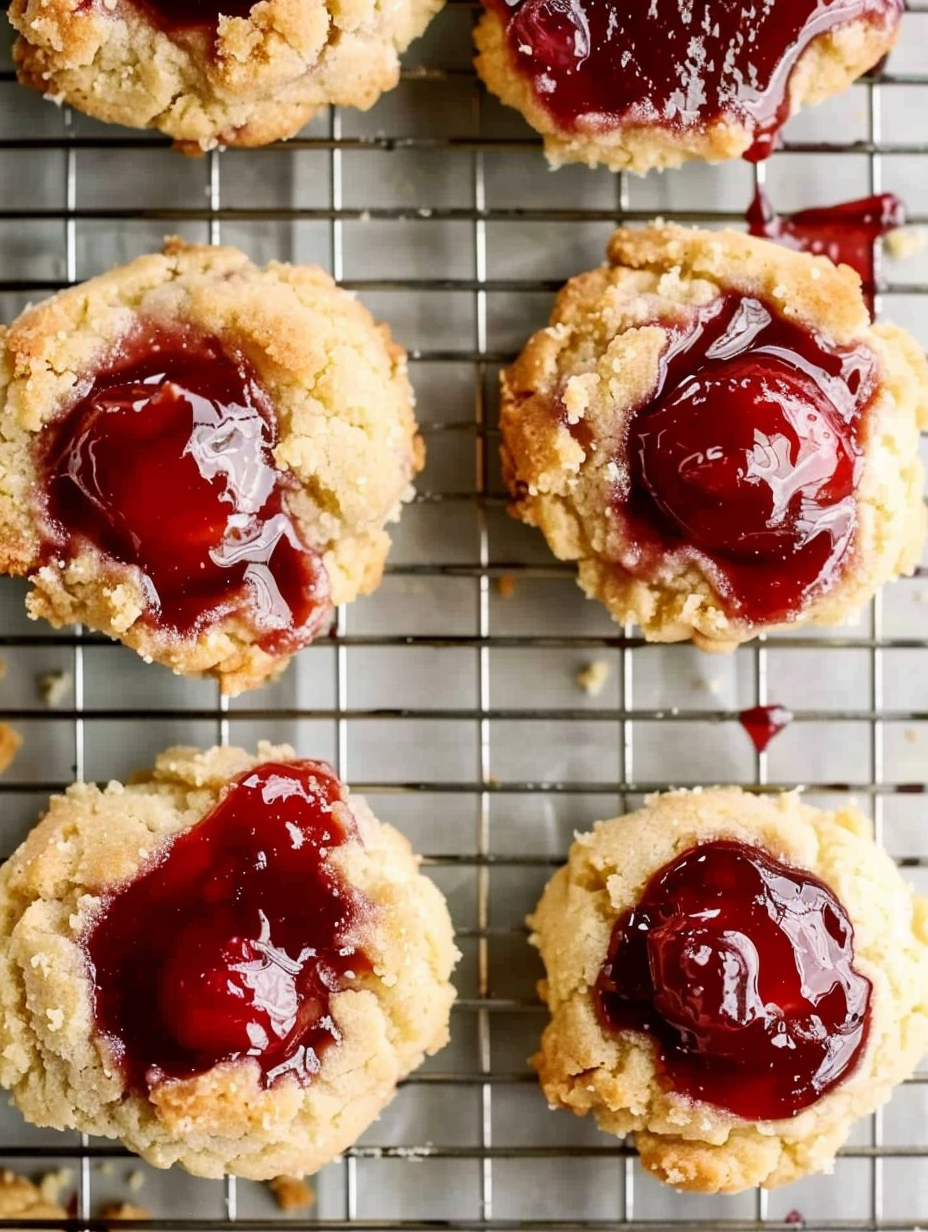
You Must Know
- Each cookie is approximately 105 calories and provides a modest serving size, making them perfect for parties where people want a small sweet bite.
- Store in an airtight container at room temperature for up to 3 days, or refrigerate for up to 7 days; they also freeze well for up to 3 months when layered with parchment.
- High in dairy and eggs, these are not suitable for vegan diets, and they contain gluten from flour and graham crackers.
- Chilling the dough is critical: it prevents spreading and concentrates flavors, so avoid skipping this step even if you’re pressed for time.
What I love most is how adaptable these cookies are — swap fillings, change the crumb, or pipe a thin cream cheese glaze. Family members often request different pie fillings, and each variation brings a new twist. Baking them has led to many small celebrations: cookie swaps, birthday trays, and quiet afternoons with a cup of tea.
Storage Tips
Store cooled cookies in a single layer in an airtight container at room temperature for up to 3 days. For longer storage, place layers between sheets of parchment and freeze in a sealed container for up to 3 months. To enjoy after freezing, thaw in the refrigerator overnight and bring to room temperature before serving to regain softness. Reheat individual cookies briefly in a 300 ℉ oven for 4–6 minutes if you prefer them warm, but avoid microwaving as it can make the graham coating soggy.
Ingredient Substitutions
If you need to adapt, use softened Neufchâtel cheese for a slightly lighter result, or swap the graham crumbs for crushed digestive biscuits for a slightly different sweetness. For a gluten-free option, substitute a 1:1 gluten-free flour blend and use gluten-free graham-style crumbs; texture will be slightly different but still very enjoyable. If avoiding eggs, try an egg replacer specifically for baking, but be aware the egg white plays a role in adhesion of crumbs, so results will vary.
Serving Suggestions
Serve these cookies on a dessert platter with a dusting of powdered sugar or a light drizzle of melted white chocolate. They pair beautifully with coffee, black tea, or a sparkling rosé for adult gatherings. For a festive touch, add a small mint leaf or a sliver of lemon zest atop each cherry. These work well as part of a cookie exchange, picnic box, or picnic dessert tray since they’re handheld and visually appealing.
Cultural Background
Thumbprint cookies have roots in several European baking traditions where small indented cookies were filled with jam or preserves. The graham-cracker-and-cheesecake twist is an American adaptation that borrows the iconic flavors of New York–style cheesecake and translates them into an individual cookie format — an idea that reflects the American love for mashups and portable desserts.
Seasonal Adaptations
In summer use fresh fruit preserves or homemade compotes for a brighter flavor; in winter, consider apple or cranberry-orange filling for holiday parties. For spring, try a lemon curd center in lieu of cherries. You can also swap the graham crumbs for crushed ginger snaps during the holidays for a warm, spiced profile.
Meal Prep Tips
To prepare ahead: make the dough and roll into balls, then freeze on a sheet pan. Once frozen, transfer to a sealed bag. Bake from frozen, adding 1–2 minutes to the bake time. Alternatively, bake the cookies fully, cool, fill, and freeze in a single layer on a tray; then store in containers with parchment. Thaw overnight in the fridge and bring to room temperature for best texture.
These little cookies capture creamy, fruity, and crunchy notes in a single bite — they are an easy way to bring a homemade touch to gatherings without spending hours in the kitchen. Try them with different fillings and enjoy the smiles they bring.
Pro Tips
Chill the dough at least 2 hours; it prevents spreading and develops flavor.
Beat the egg white until just foamy for the best graham-crumb adhesion without adding too much moisture.
Use full-fat cream cheese for the creamiest texture and truest cheesecake flavor.
Press thumbprints to about 1/4 inch depth so they hold the filling without overflowing.
This nourishing cherry cheesecake cookies recipe is sure to be a staple in your kitchen. Enjoy every moist, high protein slice — it is perfect for breakfast or as a wholesome snack any time.
FAQs about Recipes
Can I freeze the dough?
Yes. Dough balls can be frozen on a baking sheet and then transferred to a resealable bag for up to 2 months. Bake from frozen and add 1–2 minutes to the bake time.
How long do these cookies keep?
Store in an airtight container at room temperature for up to 3 days, or refrigerate for up to 7 days. Freeze for up to 3 months layered with parchment.
Tags
Cherry Cheesecake Cookies
This Cherry Cheesecake Cookies recipe makes perfectly juicy, tender, and flavorful steak every time! Serve with potatoes and a side salad for an unforgettable dinner in under 30 minutes.
Ingredients
Dough
Coating
Filling
Instructions
Make the dough
Cream butter, cream cheese, egg yolk, vanilla, lemon zest, and salt until light and fluffy. Beat in powdered sugar, then fold in flour until a stiff dough forms.
Chill the dough
Cover the dough with plastic wrap and refrigerate for about 2 hours to firm up the fats and prevent spreading during baking.
Preheat and shape
Preheat oven to 325 ℉. Roll chilled dough into 1-inch balls and set aside on a tray.
Coat and thumbprint
Beat reserved egg white until foamy, brush or dip dough balls, roll in graham crumbs, arrange 2 inches apart, and press a 1/4-inch deep indentation in each.
Bake
Bake at 325 ℉ for 12–15 minutes until the bottoms are lightly browned and tops are set. Do not overbake to keep centers soft.
Cool and fill
Transfer cookies to a cooling rack, let cool completely, then spoon about 1 teaspoon of cherry pie filling into each thumbprint.
Last Step: Please leave a rating and comment letting us know how you liked this recipe! This helps our business to thrive and continue providing free, high-quality recipes for you.
Nutrition
Did You Make This?
Leave a comment & rating below or tag
@feastinarecipe on social media!
Categories:
You might also like...

Lemon Chicken Orzo Soup
Cozy, bright, and ready fast, this Instant Pot lemon chicken orzo soup brings tender chicken, fresh veggies, and a sunny citrus finish.

50 Calorie Strawberry Cheesecakes
Feather-light mini cheesecakes with bright strawberry sauce, a tender biscuit-style base, and creamy filling. Just 47 calories each and irresistibly fresh.

Kahlua Chocolate Cheesecake Bites
Silky mini cheesecakes swirled with melted chocolate and a splash of Kahlua, nestled on Oreo crusts and crowned with fresh whipped cream.
Did You Make This?
Leave a comment & rating below or tag @feastinarecipe on social media!
Rate This Recipe
Share This Recipe
Enjoyed this recipe? Share it with friends and family, and don't forget to leave a review!
Comments (1)
This recipe looks amazing! Can't wait to try it.
Comments are stored locally in your browser. Server comments are displayed alongside your local comments.

Hi, I'm Sarah!
What's Popular

30-Minute Meals!
Join to receive our email series which contains a round-up of some of our quick and easy family favorite recipes.