
>>

Fluffy, cheesy whipped egg whites crowned with a runny yolk, crispy bacon, and bright green onions — a 20-minute breakfast that feels special every morning.
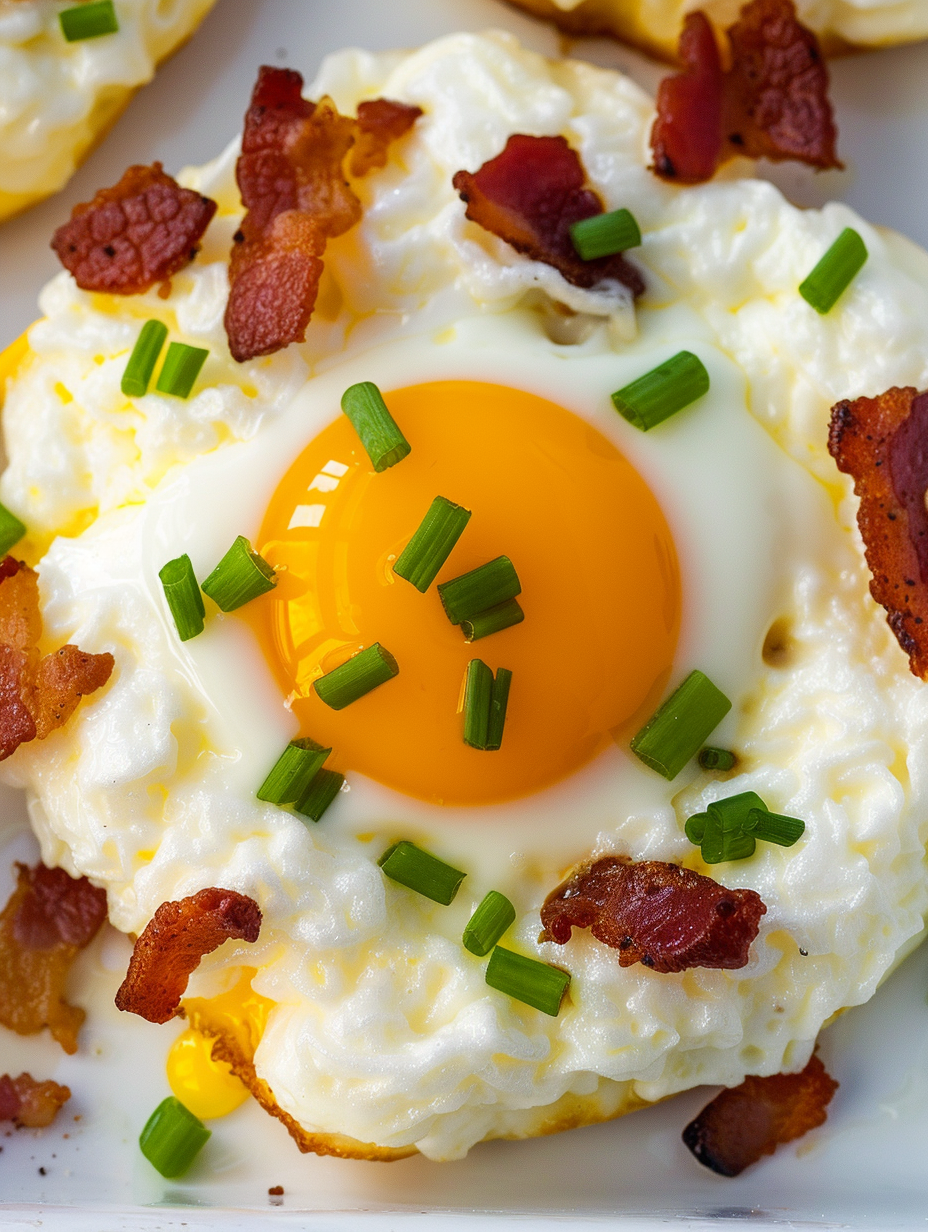
This recipe for fluffy Cloud Eggs is one you'll want to add to your weekly breakfast rotation. I first stumbled on this technique during a busy weekend brunch when I wanted something showy that came together fast. The moment I pulled a tray of glossy, cloud-like whites out of the oven and cracked a spoon into a warm, runny yolk, I understood why this simple combination is so satisfying. The contrast of pillowy whites, creamy yolk, crunchy bacon, and sharp cheese makes every bite interesting.
Cloud Eggs are one of those small pleasures that transform a regular morning into a celebration. I love making them for guests because they look like a dish that required effort, but they actually come together in under 20 minutes. They work as a quick protein-forward breakfast, a light brunch plate, or even a centerpiece for a cozy weekend meal. Over time I tweaked the seasoning and added colby jack for a mild, melting cheese note that gives the whites a tender, savory backbone. My family always asks for an extra strip of bacon on top.
I remember serving these at a small holiday brunch; everyone admired how delicate they looked and how satisfying they tasted. Even the kids, who usually avoid anything too different, loved tearing into the warm yolk. Over several makes I learned small tricks — like ensuring the mixing bowl and beaters are completely dry and folding the cheese gently so the whites stay lofty. Those details make the difference between dense mounds and true clouds.
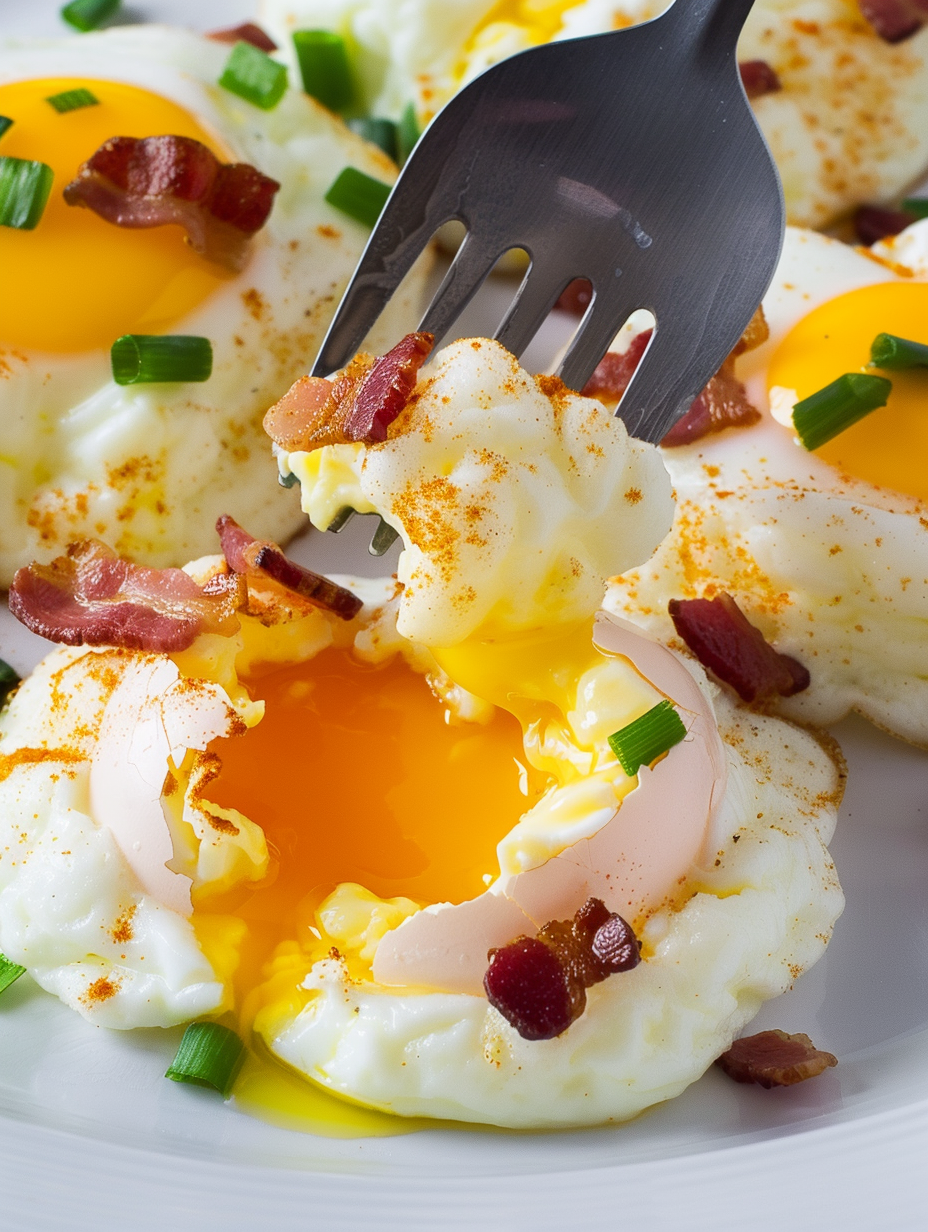
My favorite part is the theatrical crack of the yolk — it feels celebratory even on a weekday. Family members often volunteer to top the clouds with extra garnishes, which turns plating into a mini interactive moment. From the first test batch to now, small adjustments like drying the mixing bowl and shredding the cheese fresh made the biggest improvements.
These are best enjoyed immediately, but if you must store them, cool completely and transfer to an airtight container. Refrigerate for up to 48 hours. To reheat, place on a baking sheet and warm in a 300°F oven for 5–7 minutes; watch carefully to avoid cooking the yolk through. Avoid microwaving when reheating whole clouds as microwaves can overcook yolks unevenly and make the whites rubbery. For partial make-ahead, whip the whites and fold in cheese, then loosely cover and refrigerate for up to 1 hour before shaping and baking.
If you don’t have Colby Jack, use Monterey Jack, mild cheddar, or even grated Gruyère for a nuttier flavor; swap quantities 1:1. For a dairy-free option, omit the cheese and add a pinch more salt plus a tablespoon of nutritional yeast for umami. Replace bacon with cooked, flaked smoked salmon or prosciutto for a different protein; for a vegetarian version, use crispy roasted mushrooms or sun-dried tomatoes and omit the meat entirely. If you prefer less salt, reduce added salt to 1/4 teaspoon and rely on cheese and bacon for seasoning.
Serve on toasted sourdough or an English muffin to make it heartier, and add a side of arugula dressed lightly with lemon to cut through the richness. For brunch, pair with roasted potatoes, fresh fruit, or a simple mixed greens salad. Garnishes that play well include flaky sea salt, a dusting of smoked paprika, or a few microgreens for color. For a savory breakfast board, present multiple flavored clouds — one with chives, one with pesto, one with sun-dried tomatoes — so guests can sample different combinations.
The idea of aerating egg whites to achieve a light texture is classic in European cuisine — think meringues or soufflés — but the specific presentation of cloud-like baked whites with a yolk center is a modern brunch innovation. It grew in popularity through social food media because of the dramatic look and simple technique. Variations exist worldwide where eggs are combined with aerated elements; this approach showcases how basic ingredients and technique create a deceptively elegant dish.
In spring, add tender asparagus tips or ramps with a bit of lemon zest for brightness. Summer welcomes cherry tomato halves and basil; in fall, swap bacon for applewood-smoked bacon and fold in a tablespoon of grated aged cheddar to deepen flavor. For winter, fold in a touch of nutmeg and top with warm, caramelized onions for richness. Small seasonal swaps make the dish feel timely and let you use what’s freshest from the market.
For batch brunches, prepare the bacon and shred the cheese the day before. Whip egg whites just before baking for peak volume; if you need to stretch timing, you can separate eggs and keep yolks covered in the fridge for a few hours. Portion the whites into silicone muffin cups on the tray for uniform shapes, and use a small spoon to create consistent wells. Use shallow bowls for yolks so they don’t break when transferred. Label containers with reheating notes if sending for packed breakfasts.
Cloud Eggs are a small luxury: quick, adaptable, and endlessly customizable. Whether you make them for one or for a crowd, the combination of texture, flavor, and bright presentation turns a simple plate of eggs into a memorable meal. Try them once and you’ll find a dozen small ways to make them your own.
Ensure your mixing bowl and beaters are completely clean and dry to allow egg whites to reach full volume.
Fold cheese gently into whites using a spatula to preserve trapped air; over-folding deflates the mixture.
Use small bowls to hold yolks and transfer them carefully with a spoon to avoid breaking them.
This nourishing cheesy cloud eggs with crispy bacon & scallions recipe is sure to be a staple in your kitchen. Enjoy every moist, high protein slice — it is perfect for breakfast or as a wholesome snack any time.
Whites should be whipped to stiff peaks, about 4–5 minutes with an electric mixer. The bowl and beaters must be completely dry for best volume.
Bake the whites first until set (about 6 minutes at 350°F), then add yolks and bake another 4 minutes for runny yolks. Increase time slightly for firmer yolks.
Prepare components ahead — cook bacon and shred cheese the night before — but whip the whites just before baking for best texture.
This Cheesy Cloud Eggs with Crispy Bacon & Scallions recipe makes perfectly juicy, tender, and flavorful steak every time! Serve with potatoes and a side salad for an unforgettable dinner in under 30 minutes.
Preheat the oven to 350°F and line a baking sheet with parchment paper. Arrange tools and reserve small bowls for yolks so you can work quickly when whites are ready.
Separate yolks from whites, placing yolks gently into individual small bowls and whites into a clean, dry mixing bowl. Keep yolks covered to prevent drying.
Using an electric mixer, beat egg whites on medium-high until stiff peaks form (about 4–5 minutes). Ensure no traces of fat or water are present in bowl or beaters.
Gently fold shredded Colby Jack and 1/2 teaspoon salt into the whipped whites with a spatula, using lifting motions to preserve volume.
Spoon the whites into six even mounds on the parchment-lined tray, shaping each into a rounded pillow and making a shallow well in the center for the yolk.
Bake at 350°F for about 6 minutes until the whites are set and no longer jiggle when the pan is tapped.
Carefully place one yolk into each well and return to the oven for about 4 minutes for runny yolks, adjusting time slightly for desired doneness.
Top each cloud with crumbled bacon and chopped green onions. Serve immediately while yolks are warm and runny.
Last Step: Please leave a rating and comment letting us know how you liked this recipe! This helps our business to thrive and continue providing free, high-quality recipes for you.
Leave a comment & rating below or tag
@feastinarecipe on social media!

Cozy, bright, and ready fast, this Instant Pot lemon chicken orzo soup brings tender chicken, fresh veggies, and a sunny citrus finish.

Feather-light mini cheesecakes with bright strawberry sauce, a tender biscuit-style base, and creamy filling. Just 47 calories each and irresistibly fresh.

Silky mini cheesecakes swirled with melted chocolate and a splash of Kahlua, nestled on Oreo crusts and crowned with fresh whipped cream.
Leave a comment & rating below or tag @feastinarecipe on social media!
Enjoyed this recipe? Share it with friends and family, and don't forget to leave a review!
This recipe looks amazing! Can't wait to try it.
Comments are stored locally in your browser. Server comments are displayed alongside your local comments.

Join to receive our email series which contains a round-up of some of our quick and easy family favorite recipes.
