
>>

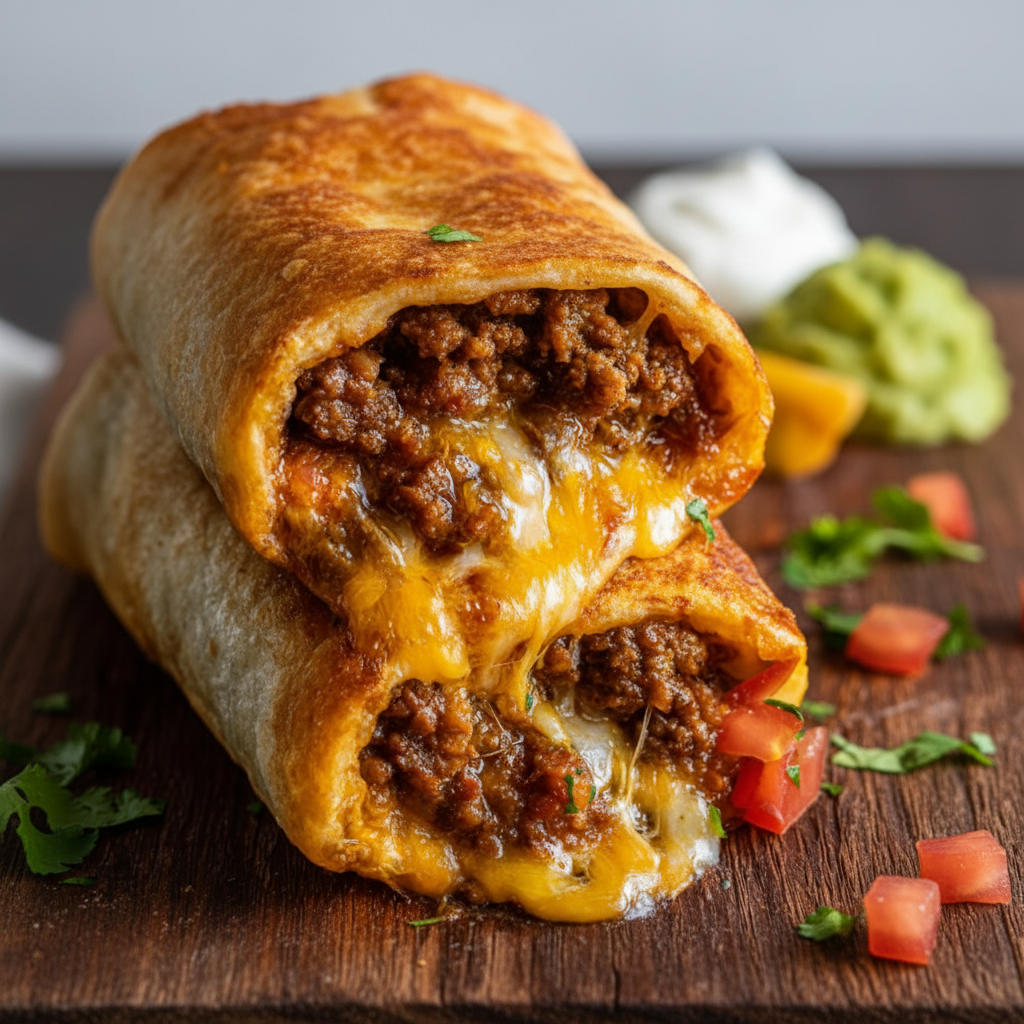
Crispy, golden chimichangas filled with seasoned beef, gooey cheese, and refried beans — a Tex-Mex crowd-pleaser that can be fried or baked.
This Beef and Cheese Chimichangas recipe has been a family favorite for years, arriving at our table whenever we want comfort food with a Tex-Mex punch. I first made these on a busy weeknight when friends were coming over and I needed something that felt indulgent but was quick to pull together. The combination of seasoned ground beef, creamy refried beans, and a generous handful of melting cheddar tucked into a large flour tortilla creates a perfect balance of savory, slightly spicy, and satisfyingly crispy textures. These are the sort of dishes that leave everyone smiling and asking for seconds.
What makes these chimichangas special is the contrast between the crunchy exterior and the warm, melty interior. The beef is seasoned with a classic taco packet (or a homemade blend), which gives layers of cumin, chili, and paprika without fuss. I love the option to bake them for a lighter meal or pan-fry for maximum crispiness; both techniques produce an irresistibly golden shell. Over the years, I learned small tweaks — like briefly draining the beef grease and letting filled chimichangas rest seam-side down — that keep them intact and perfectly textured. They’re ideal for casual entertaining, game-day snacks, or a satisfying family dinner.
In my experience, guests tend to linger around the kitchen when these are on the table. One time I made a double batch for a neighborhood potluck and came home with only one leftover — proof these are reliably popular. This recipe is forgiving, so feel free to tweak the spice level or swap cheeses based on what you have on hand.
My favorite part is the satisfying crack when you bite through the golden shell to reveal hot, melted cheese and savory beef. One Thanksgiving I made these as a casual second-course option for teenagers — they vanished within minutes. The recipe is forgiving, so little changes rarely derail the final result.
Store cooled chimichangas in an airtight container in the refrigerator for up to 3 days. To maintain crispness when reheating, use an oven set to 375°F and arrange chimichangas on a baking sheet, uncovered, for 8 to 12 minutes until heated through and crisped. For freezer storage, place assembled chimichangas on a tray to freeze until solid, then transfer to a labeled freezer bag for up to 3 months. Reheat from frozen in a 400°F oven for 20 to 25 minutes, checking for bubbling cheese in the center.
To make these without beef, substitute cooked shredded chicken or crumbled tempeh seasoned with the same spices. For dairy-free options, use a plant-based shredded cheese and a dairy-free sour cream alternative. Pinto or black bean refried versions work fine if you prefer a different bean flavor. Swap flour tortillas for gluten-free or whole-wheat versions; note gluten-free tortillas are more fragile so warm them briefly and handle gently while rolling.
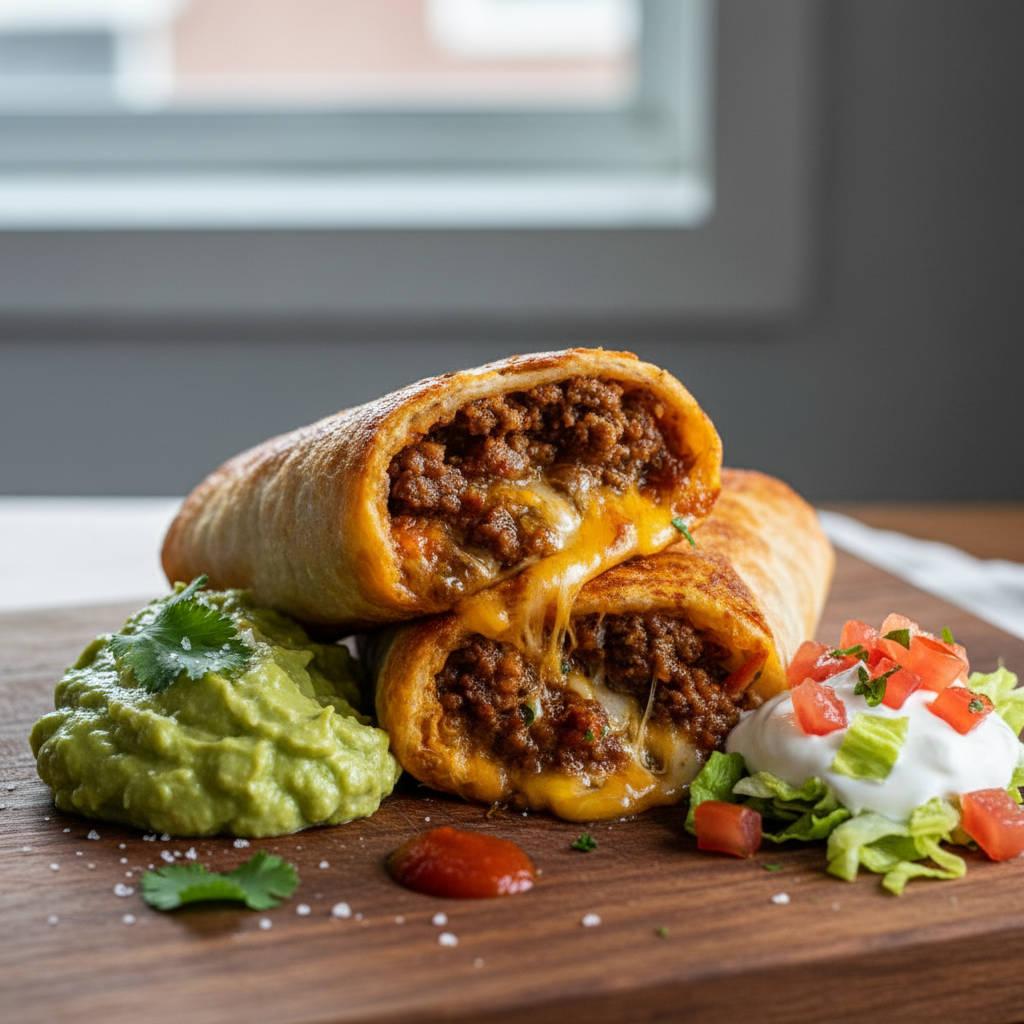
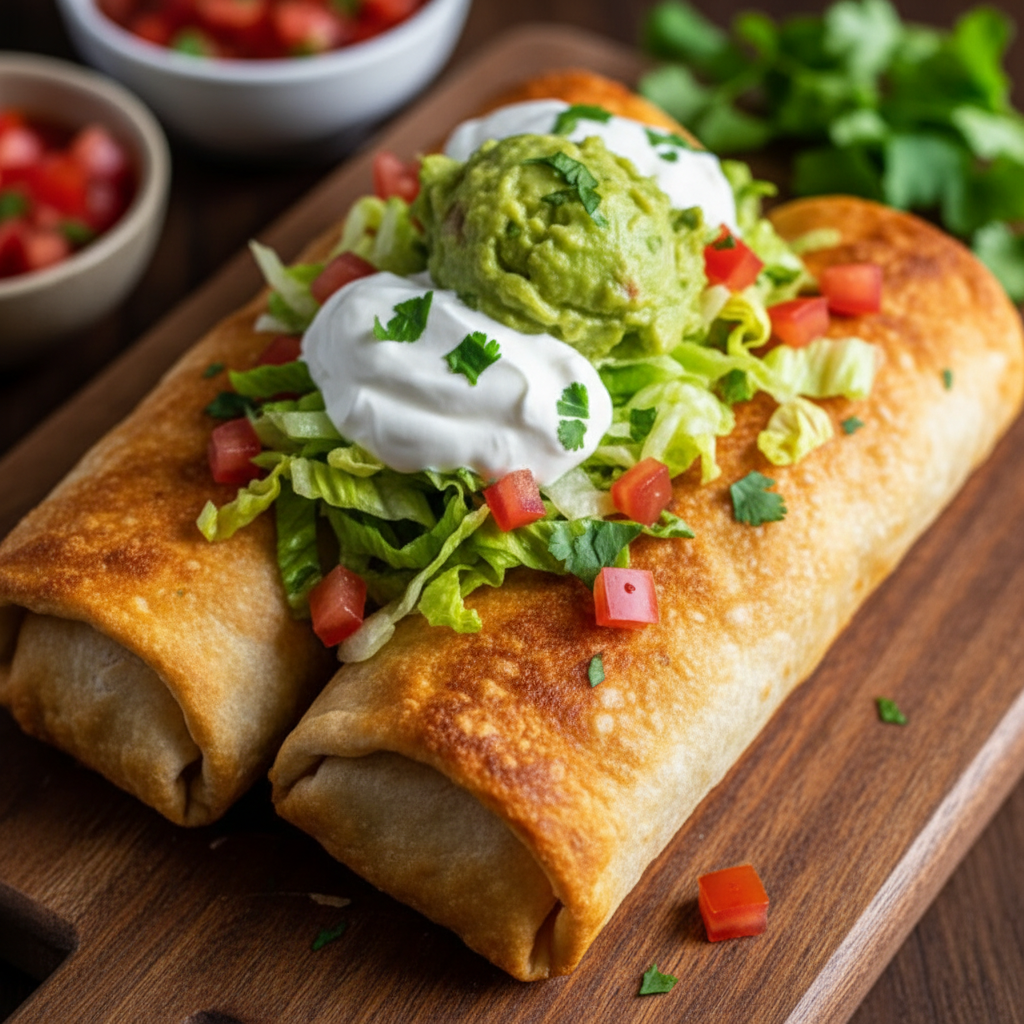
Present chimichangas with a trio of toppings: cool sour cream, bright pico de gallo or salsa verde, and creamy guacamole. A side of Spanish rice, grilled corn, or a crisp green salad balances the richness. For parties, slice chimichangas into halves or thirds and arrange on a platter with toothpicks and dipping sauces for easy sharing. Garnish with chopped cilantro and a squeeze of lime for freshness.
Chimichangas are a Tex-Mex classic with contested origins — some accounts trace them to the Arizona region where deep-fried burritos became a beloved specialty. Over time they became popular across the American Southwest, evolving with regional ingredients and preferences. Traditionally served hot with simple sides, chimichangas showcase how border cuisines blend Mexican techniques with American sensibilities to create rich, comforting dishes.
In summer, swap salsa for fresh mango or peach salsa and add grilled corn kernels to the filling for brightness. In cooler months, fold in roasted poblanos or a spoonful of chipotle in adobo for smoky warmth. Holiday gatherings call for a batch baked in the oven so you can prepare large quantities and keep them warm in a low oven for serving.
Make the filling up to two days ahead and refrigerate. When ready to serve, warm the filling slightly, assemble and roll chimichangas, then bake or fry. For easy lunches, freeze individual chimichangas; they reheat well in a toaster oven. Pack accompaniments separately to keep textures fresh, and include a small container of salsa or crema for immediate serving.
These chimichangas are reliable, adaptable, and deeply satisfying. Whether you bake them for a lighter dinner or pan-fry for ultimate crispness, they bring a touch of Tex-Mex joy to the table — and a guaranteed smile with every crunchy bite.
Warm tortillas briefly in the microwave (10–15 seconds) or on a dry skillet to make them more pliable for rolling.
Drain excess grease after browning beef but leave a tablespoon for flavor before adding garlic and salsa.
Brush chimichangas lightly with oil before baking to achieve a golden crisp without deep-frying.
Freeze rolled chimichangas on a tray until firm, then bag them for convenient future meals.
If frying, maintain medium heat so the exterior crisps without burning before the filling warms through.
This nourishing beef and cheese chimichangas recipe is sure to be a staple in your kitchen. Enjoy every moist, high protein slice — it is perfect for breakfast or as a wholesome snack any time.
This Beef and Cheese Chimichangas recipe makes perfectly juicy, tender, and flavorful steak every time! Serve with potatoes and a side salad for an unforgettable dinner in under 30 minutes.
In a large skillet over medium heat, cook 1 lb ground beef with 1 small diced onion until beef is browned and onions are soft, about 6–8 minutes. Drain excess grease, return pan to heat, add 2 minced garlic cloves, 1 packet (1 oz) taco seasoning, and 1/2 cup salsa. Simmer 3–4 minutes until well combined.
Warm 6 large flour tortillas briefly. Spread about 2 tablespoons refried beans down the center of each, top with 1/6 of the beef mixture and roughly 1/4 cup shredded cheese. Fold short sides in and roll tightly seam-side down.
Preheat oven to 400°F. Place chimichangas seam-side down on a baking sheet lined with parchment, brush lightly with 2 tablespoons vegetable oil, and bake 18–20 minutes, flipping once, until golden and crisp. Optionally broil 1–2 minutes at the end for extra color.
Heat 2–3 tablespoons vegetable oil in a skillet over medium heat. Add chimichangas seam-side down and cook 2–3 minutes per side until deeply golden and crisp. Transfer to paper towels briefly to drain.
Allow chimichangas to rest 2 minutes before serving to let filling set. Serve with toppings such as sour cream, guacamole, shredded lettuce, and additional salsa.
Last Step: Please leave a rating and comment letting us know how you liked this recipe! This helps our business to thrive and continue providing free, high-quality recipes for you.
Leave a comment & rating below or tag
@feastinarecipe on social media!

Cozy, bright, and ready fast, this Instant Pot lemon chicken orzo soup brings tender chicken, fresh veggies, and a sunny citrus finish.

Feather-light mini cheesecakes with bright strawberry sauce, a tender biscuit-style base, and creamy filling. Just 47 calories each and irresistibly fresh.

Silky mini cheesecakes swirled with melted chocolate and a splash of Kahlua, nestled on Oreo crusts and crowned with fresh whipped cream.
Leave a comment & rating below or tag @feastinarecipe on social media!
Enjoyed this recipe? Share it with friends and family, and don't forget to leave a review!
This recipe looks amazing! Can't wait to try it.
Comments are stored locally in your browser. Server comments are displayed alongside your local comments.

Join to receive our email series which contains a round-up of some of our quick and easy family favorite recipes.
